Landing in spam is one of the worst things that can happen to a cold email:
- It's very unlikely that your recipient will ever read it.
- Landing in spam with your emails automatically lowers your sender reputation, creating a vicious circle of low email deliverability.
- You don't even know when it happens – you don't get a report (like with bounced emails), and you can't track it (like with email opens.)
In this article, you will learn why emails land in spam, and how to prevent it from happening.
The short answer to why emails land in spam is: because they look like unwanted mail.
And if some emails you send land in spam and you want to prevent it:
- Don’t look like someone who sends unwanted mail. Make every cold email look like a message you would send to a colleague at work.
- Don’t send unwanted mail. Always have a good reason for why you’re sending emails to your recipients.
When you send a cold email, the receiving email server needs to decide if it wants to relay it to the recipient. (Over spam like malware and detectable phishing attempts are often stopped at this stage.)
But even if your message is accepted, it won’t always land in the recipient’s inbox.
If the email server isn’t sure that the recipient wants to receive your email, it can place it in the spam folder instead.
But how do email servers decide what’s spam and what isn’t?
How spam filtering works
In a nutshell, email providers like Gmail or Outlook analyze large datasets of actual spam to find common characteristics, and then apply their findings to all incoming emails.
Their goal is to estimate how likely a given message is unwanted by the recipient. Knowing the various features of spam, they make an educated guess with every incoming email.
This means it’s also possible that a fully legitimate email lands in the spam folder.
Why emails land in the spam folder, and how to prevent it
There’s a number of elements of your email that the receiving server can analyze for spam filtering, and a number of corresponding reasons for a message landing in spam:
Sender-related reasons
Lack of email authentication (SPF, DKIM, DMARC)
Receiving email servers verify your messages using email authentication protocols – SPF, DKIM, and DMARC.
Passing the authentication checks means that:
- You’re authorized to send emails on behalf of your domain,
- You’re a legitimate sender and your emails aren’t spoofed,
- There’s additional reason to trust you as you’ve taken steps to identify yourself as a legitimate email sender.
Authenticating your domain and IP to send emails on your behalf is one more proven method to prevent emails going to spam, as confirmed by Google:
SPF, DKIM and DMARC authentication—Gmail protects your email by making sure messages you send and receive are authenticated. Unauthenticated messages might be sent to spam. Gmail authenticates messages with SPF, DKIM, and DMARC.
Solution:
- Implement SPF, DKIM, and DMARC.
- Every time you change your email setup, audit your authentication records to make sure they are up to date.
Being listed on email blocklists
Email blocklists are databases of domains and IPs known to send spam.
Aside from maintaining their own internal blocklists, some email providers consult third-party blocklists to detect spam.
If your domain is placed on a popular email blocklist, your odds of landing in the spam folder will increase.

Solution:
- Check if a domain is listed on popular blocklists before buying it and using it to send emails.
- Don’t send unwanted bulk email to avoid getting blocklisted.
- If you find your domain listed on an email blocklist, try getting delisted by following the recommendations of the specific blocklist.
A high sending volume
Constantly on the lookout for spammers, email providers monitor the sending volume of specific mailboxes and domains. If your daily sending volume looks unnaturally high, it’s more likely that your cold emails will land in the spam folder.
Solution:
- Ensure a high open and reply rate.
- Adjust your daily sending volume when the performance of your campaign drops.
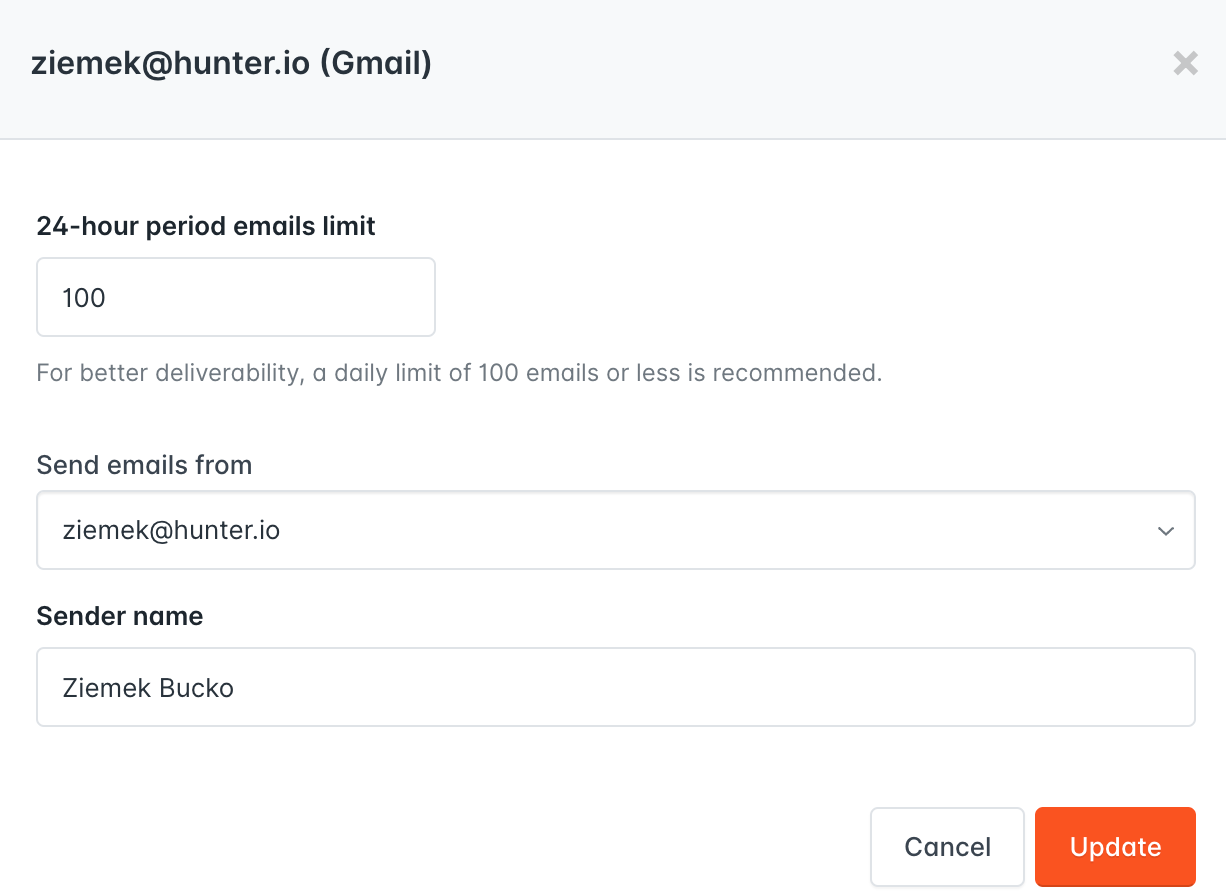
- Stick to a low daily sending volume of emails/day/inbox. When you're using Hunter Sequences, you can easily control your daily sending volume for each connected email account, and the default limit is 15 emails/day.
Sending volume spikes
It’s uncommon for legitimate email senders to suddenly send an unusually high number of emails in a short period of time. In fact, this type of behavior is associated with spam activity.
That’s why if your daily sending volume suddenly spikes without previous warmup, some of your emails will unavoidably land in spam. It’s a protective measure used by email providers
Gmail's documentation confirms this:
Avoid introducing sudden volume spikes if you do not have a history of sending large volumes. For example, immediately doubling previously sent volumes suddenly could result in rate limiting or reputation drops.
Solution: Slowly ramp up your sending volume for each mailbox and domain.
Spoofing
Although spoofing isn’t too relevant to sending cold emails, it’s still worth your consideration – it shows how important your identity is when sending emails.Spoofing means sending emails while impersonating a trusted entity. A common example is when a scammer sends an email masquerading as a bank employee, trying to acquire sensitive information from a customer.
Spoofing is one of the main reasons why SPF, DKIM, and DMARC exist: when a domain has all three email authentication protocols implemented, it’s practically impossible, or at least very difficult, to successfully impersonate a legitimate sender.
Since spoofed emails can be dangerous, email providers will put any emails that looked spoofed straight in the spam.
Solution: Implement email authentication protocols both to protect your own domain and to make your emails more trustworthy.
Content-related reasons
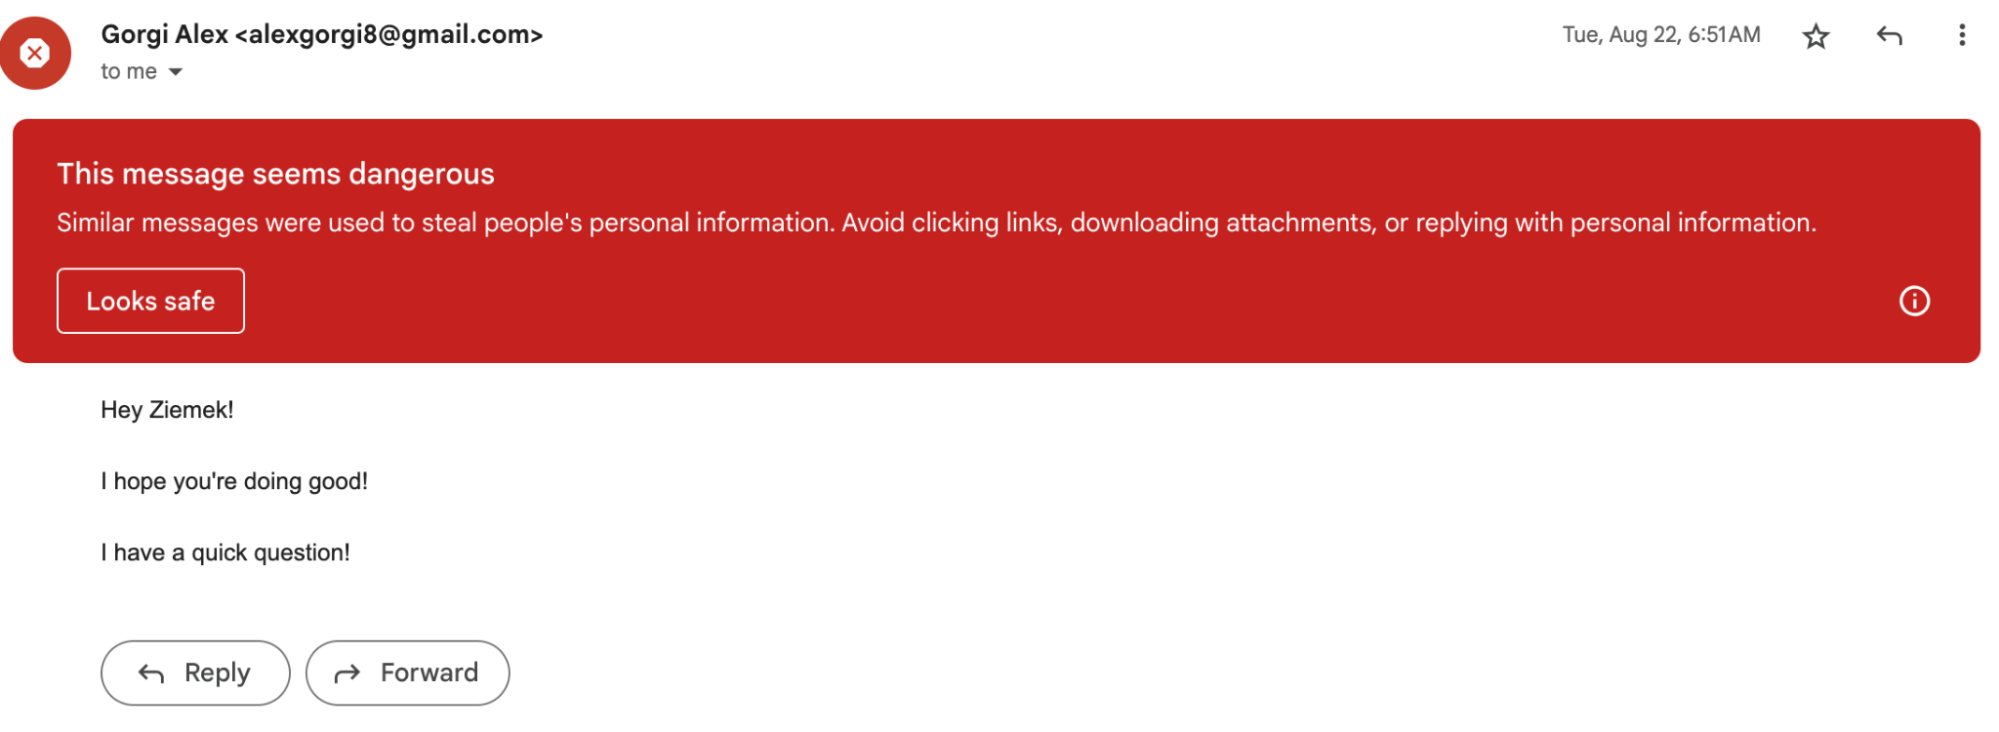
Lack of personalization
Spam email blasts usually consist of the same message sent to a large number of recipients.
If you send a cold email campaign without any personalization, you’ll effectively mimic the behavior of a spammer.
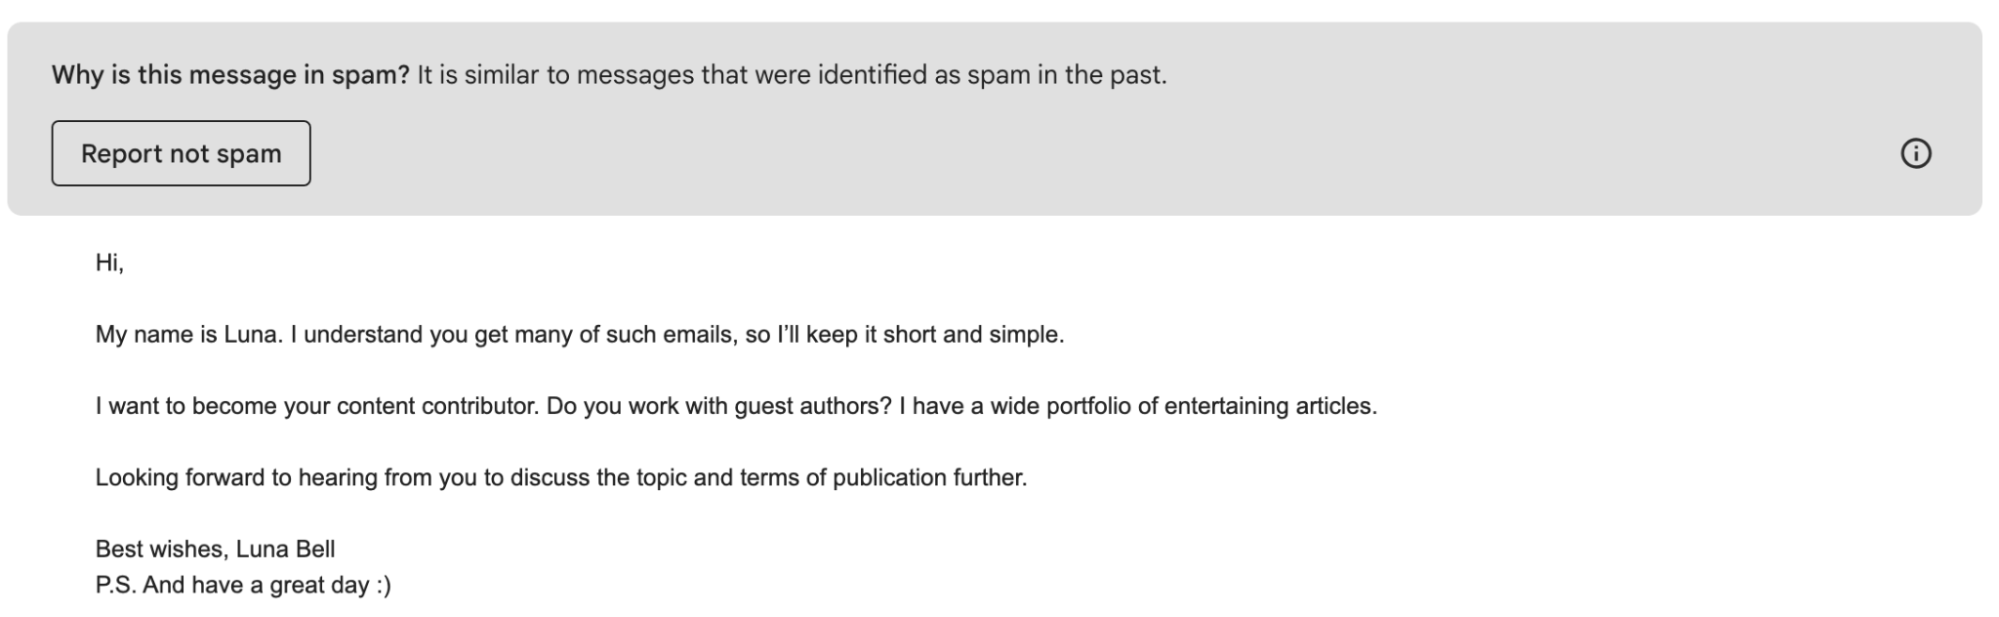
This is why personalization not only affects your chances of getting a positive reply, but also your deliverability. A significant amount of personalization will make your emails distinct even though they belong in the same campaign.
Solution: Make your messages unique by using at least basic personalization like the name of your recipient and the company they work for. The more personalized your messages are, the better for your deliverability.
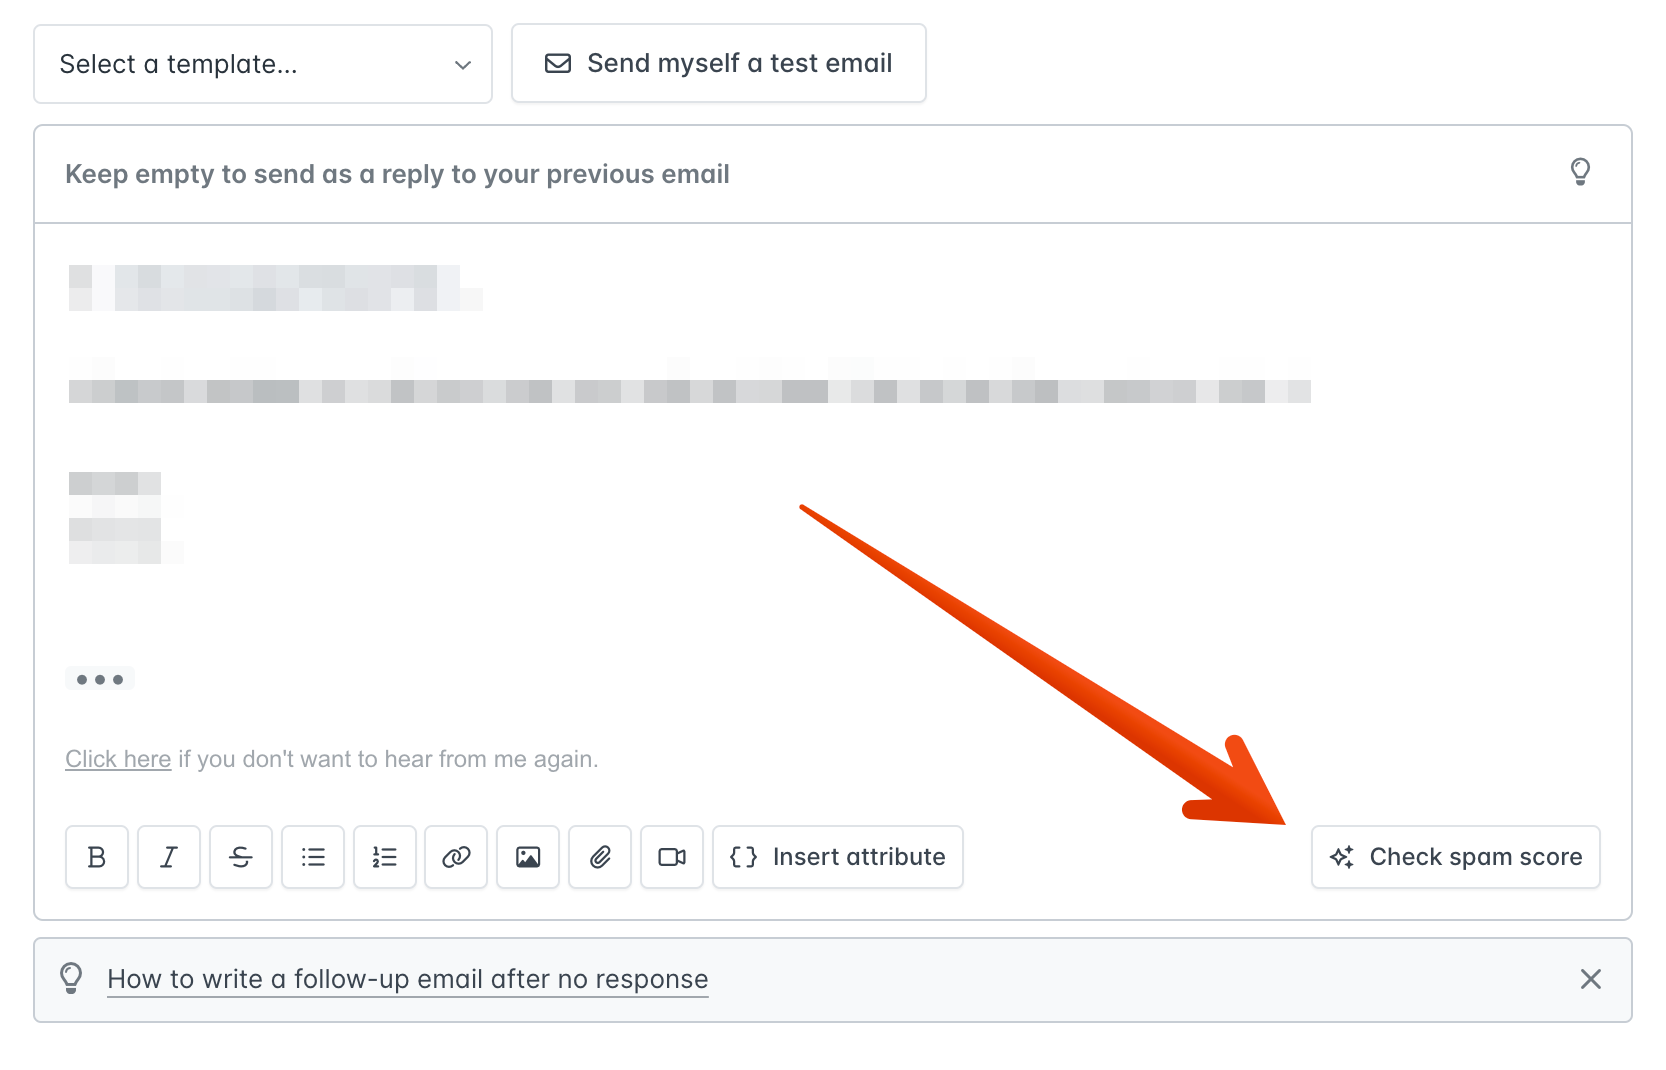
Spam-related words used in your message
Some words, especially when used together or in large quantities, will inevitably land your email in spam. That’s because email providers analyze the language of your message to estimate how likely it is to be actual spam.
Solution: It can be difficult to manually spot spam-related words in your email. Check your message with an automated spam checker.
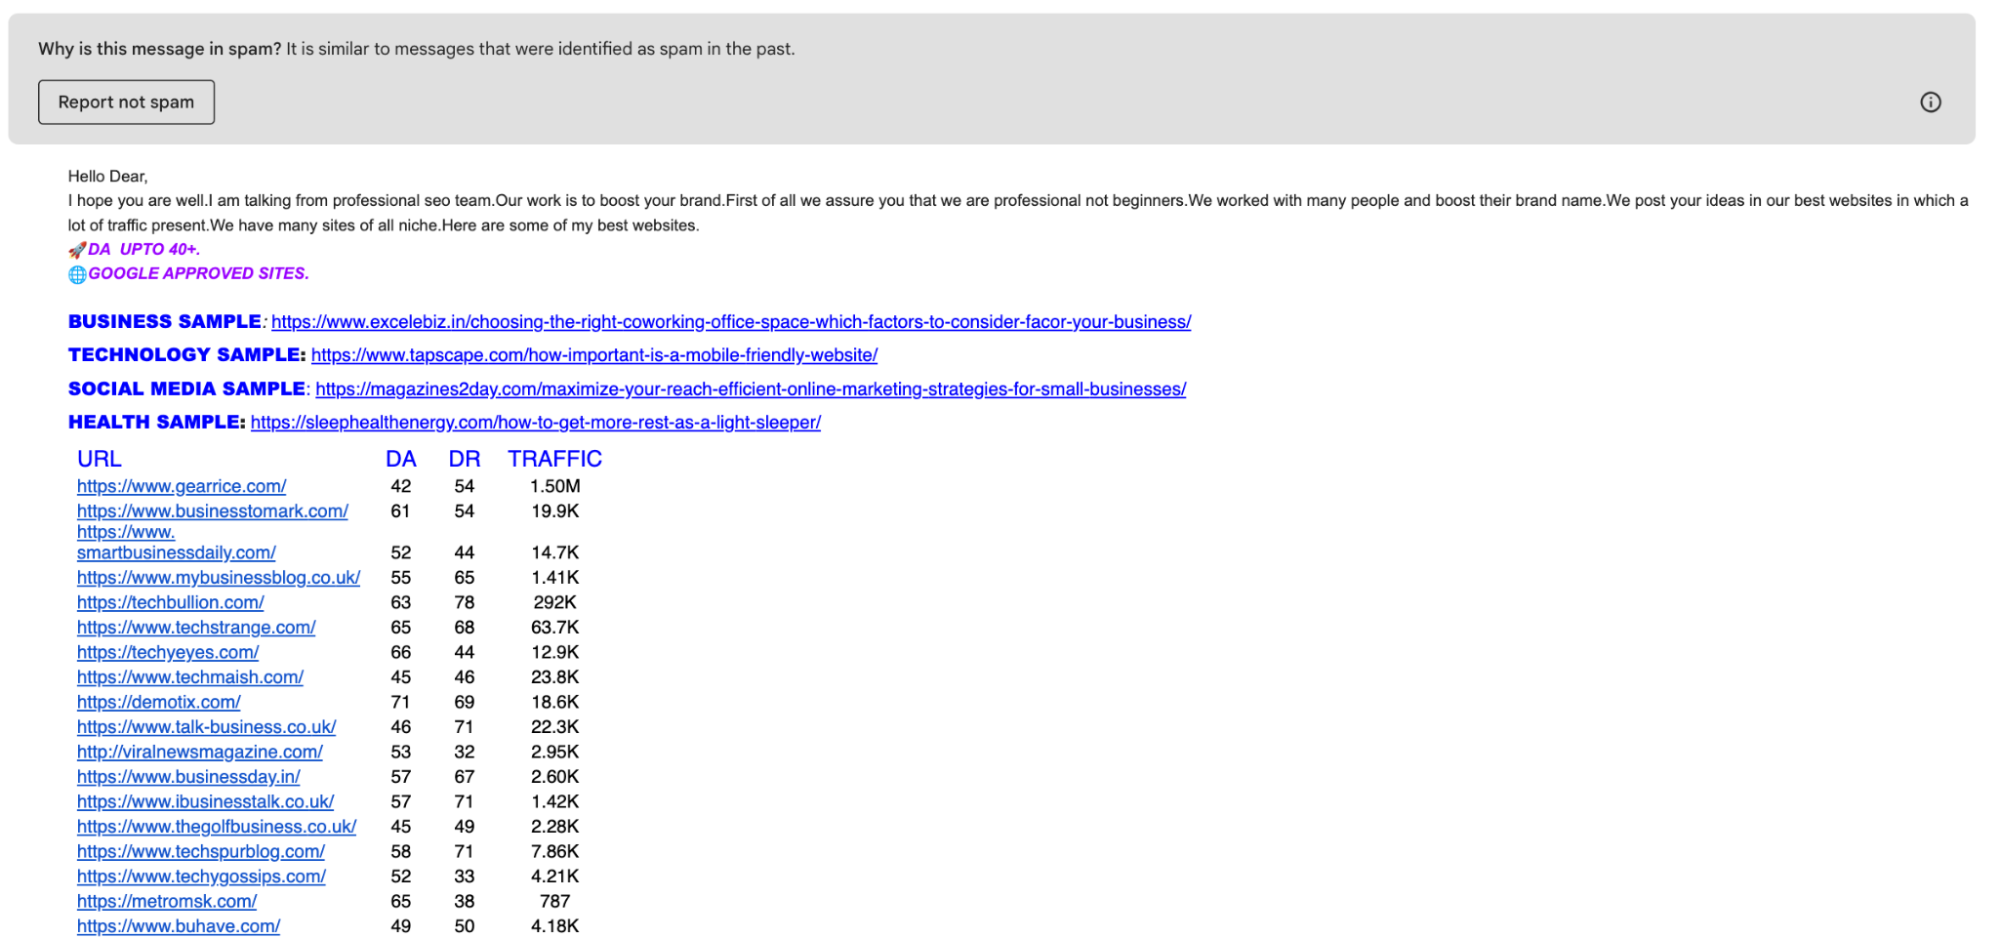
Links in your email
Using links may be damaging to your deliverability. Even if the link is not malicious in any way, it puts your message under additional scrutiny.
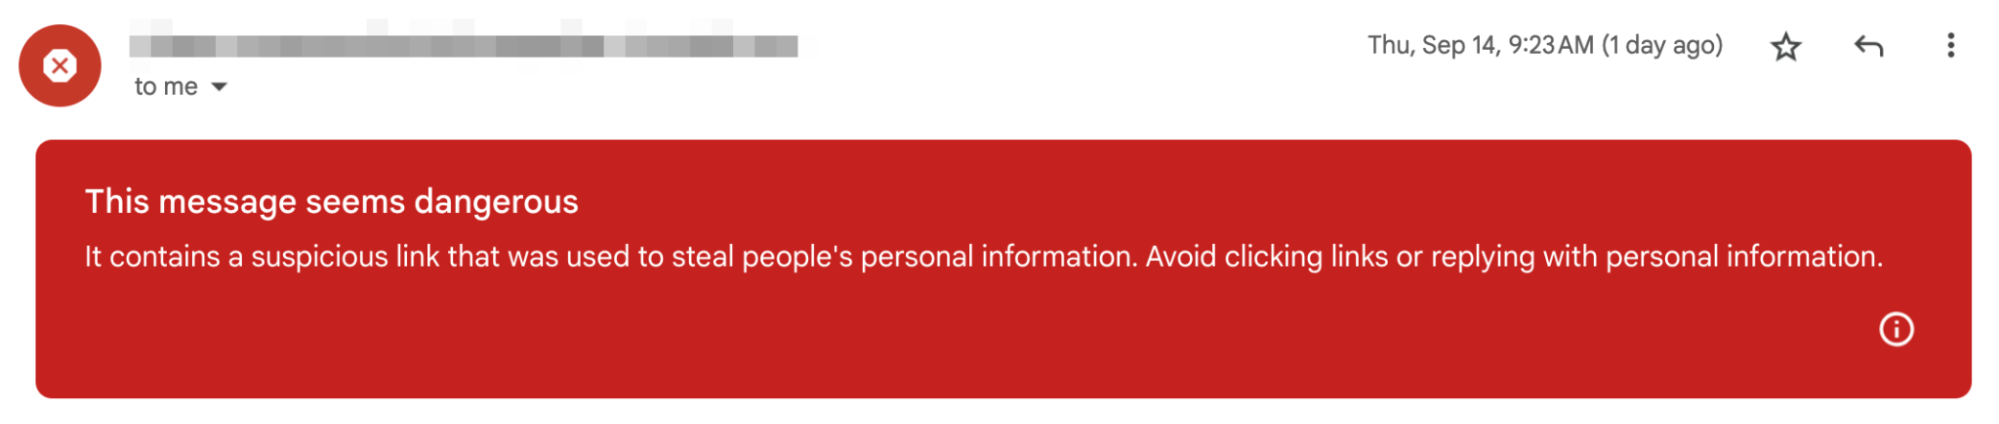
Email providers and blocklists even check the reputation of the domains you link to from your message.
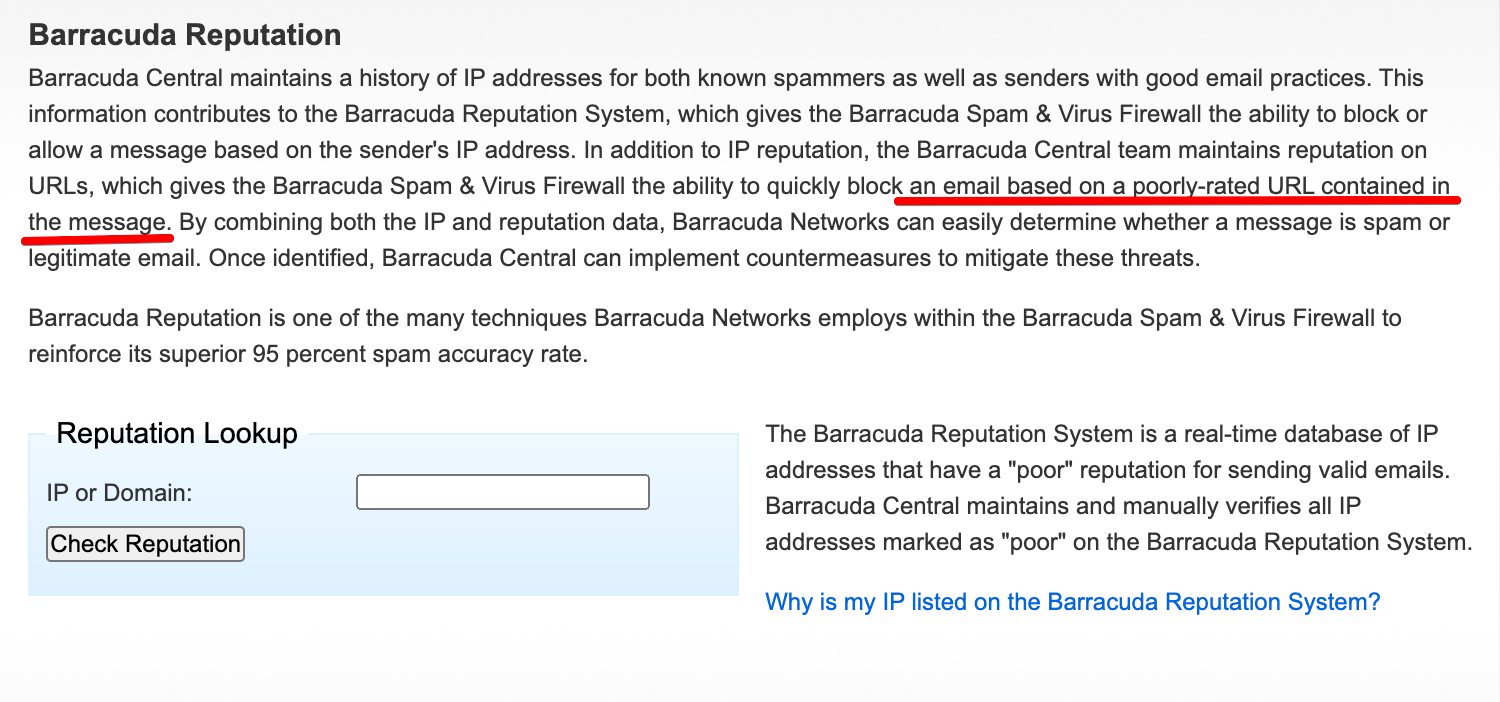
If your email contains any links to websites that are blocklisted or ones known for phishing or malware, your message will likely land in spam.
Gmail also says that “Web links in the message body should be visible and easy to understand. Recipients should know what to expect when they click a link.”
Solution:
- Avoid using links in your cold emails.
- If you must, only link to reputable websites and clearly describe what to expect when clicking on the link.
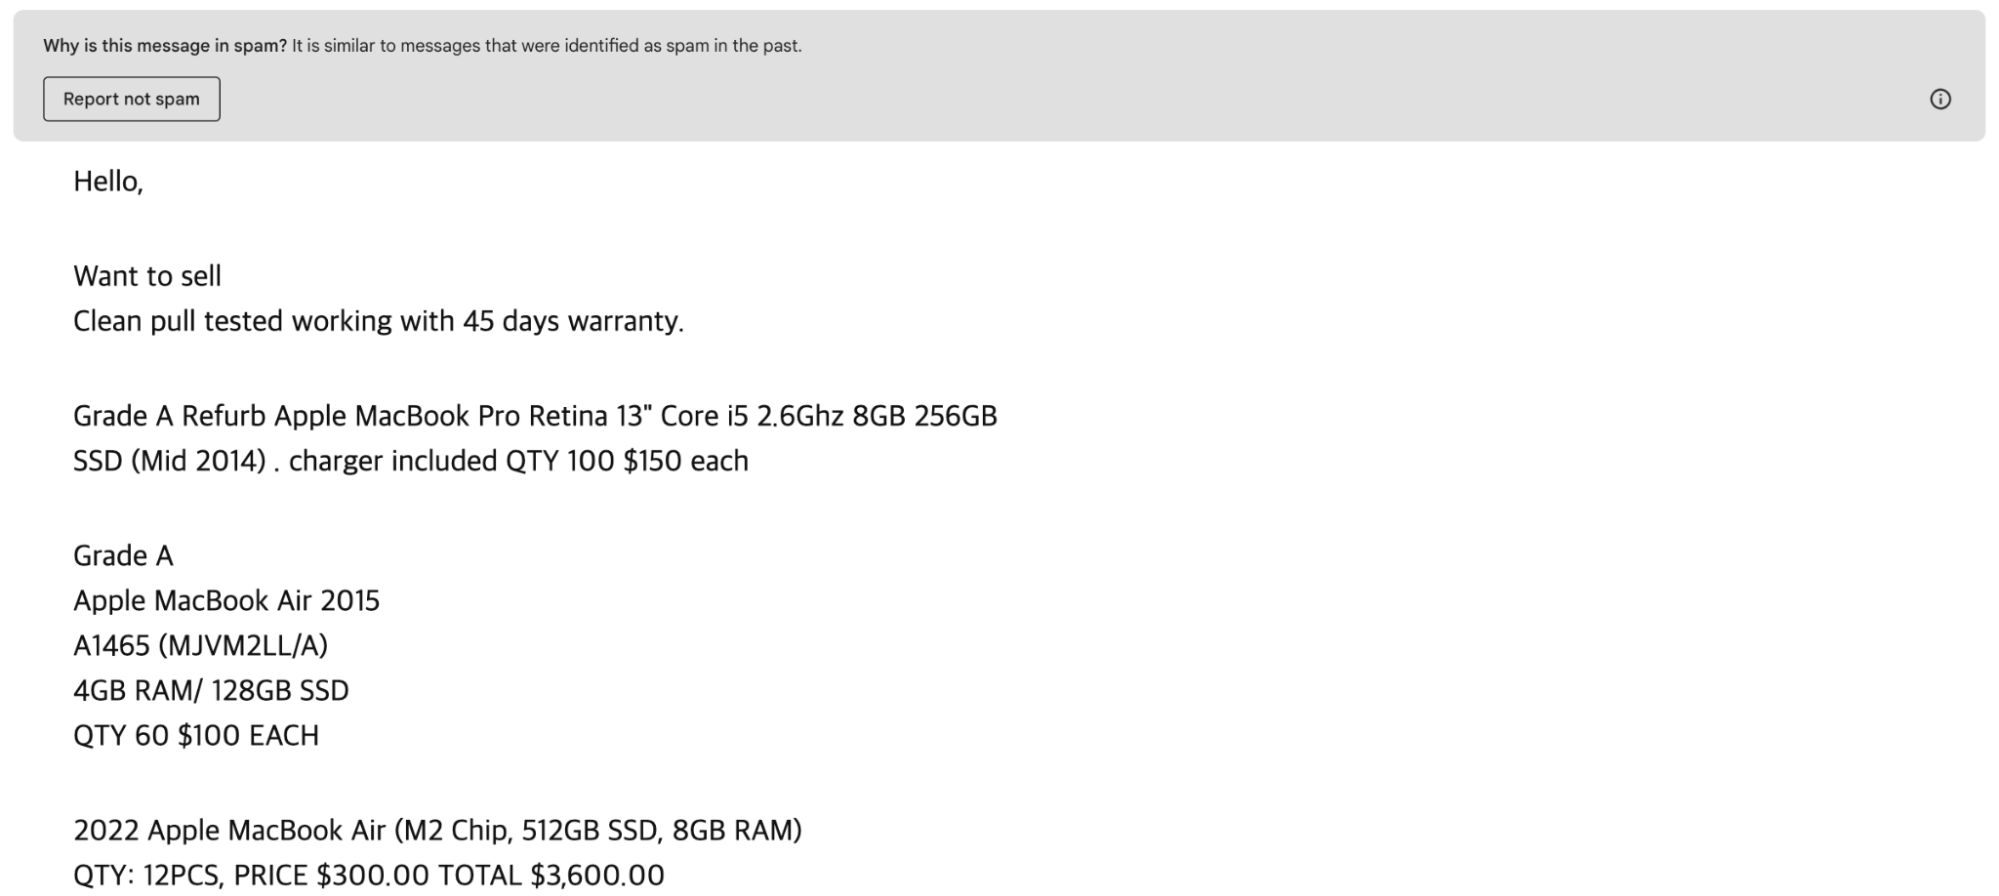
Using attachments
Some types of attachments will make your cold email land straight in spam. That’s because email providers protect users by filtering out dangerous files.
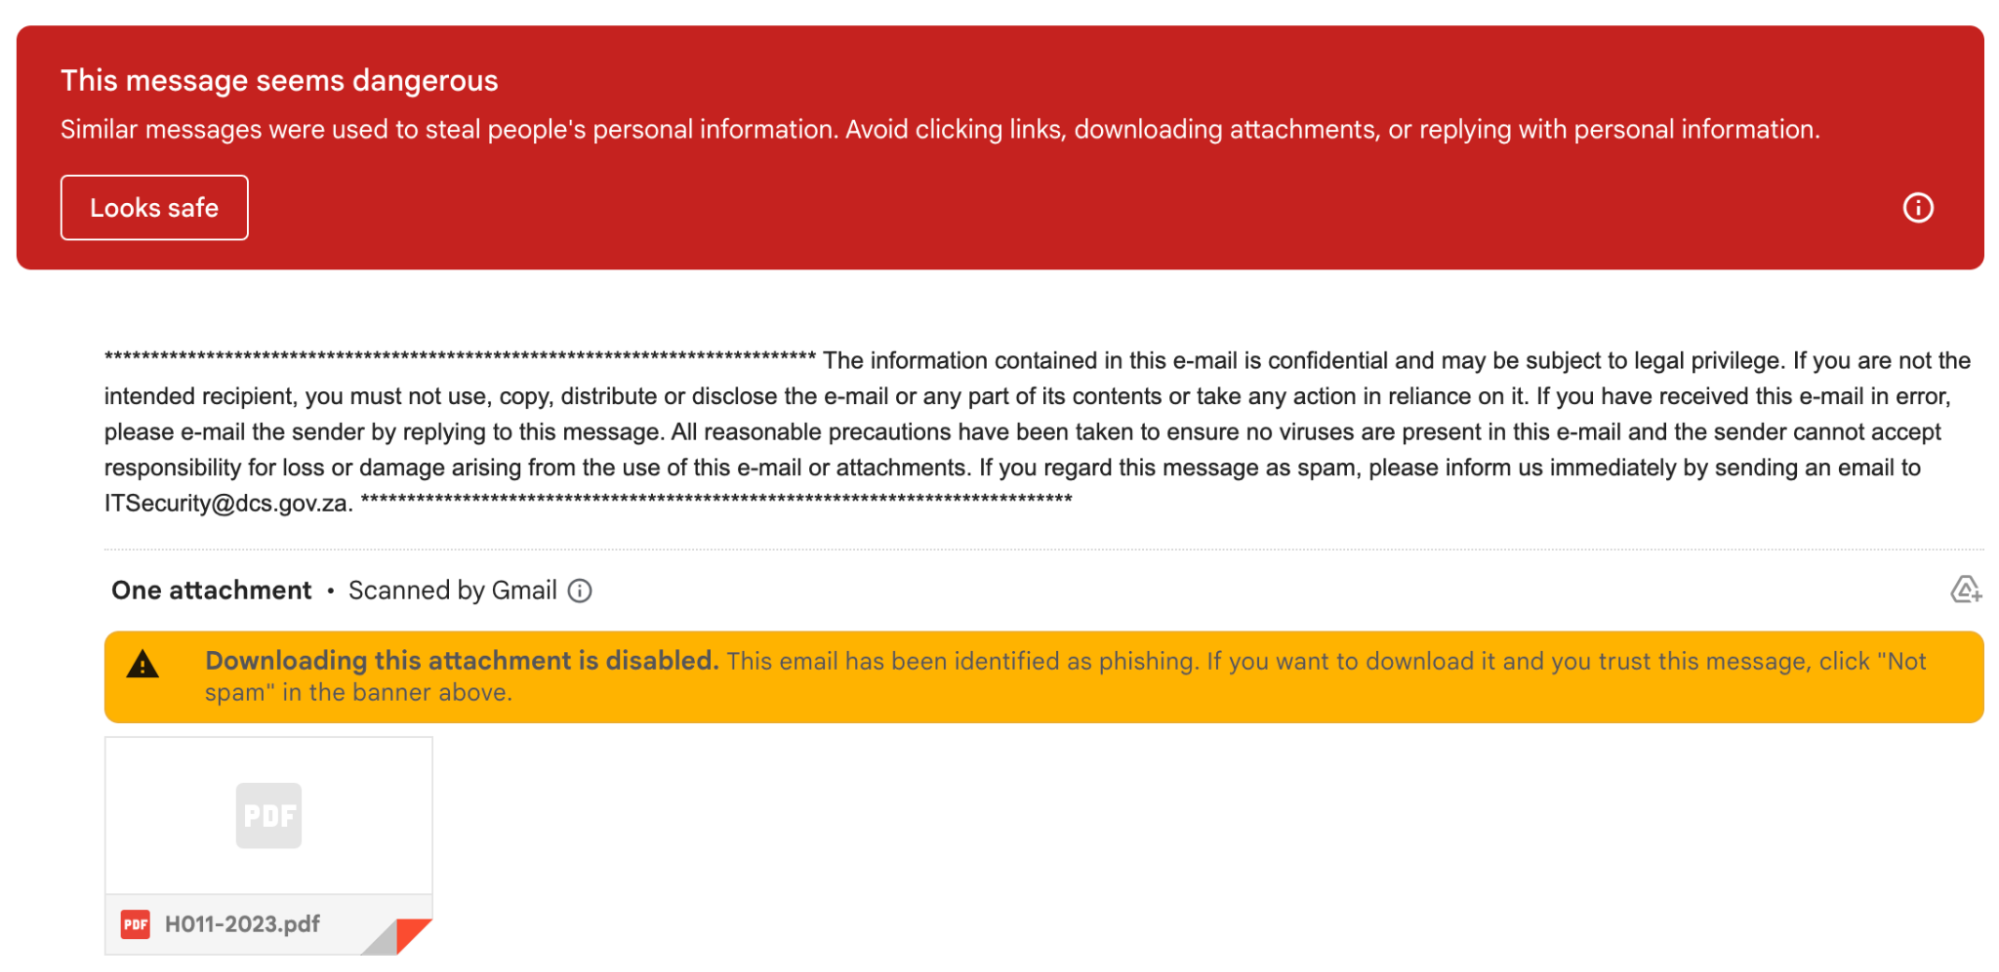
Executable files like .exe or .bat are especially risky, because they can contain malicious software. However, PDFs or images can lower your deliverability, too.
Solution: Avoid sending any attachments in cold emails – use them after establishing a relationship with the recipient.
Poor email content structure
Spam messages may differ from regular emails in their structure. As an example, their ratio of images to text may be unusually high.
Solution: Make your cold email look like an organic message you would send to someone you know. Use unstructured text; avoid images, links, and unnecessary formatting.
Inappropriate email length
The length of your email can make it look like spam.
For example, if your message is empty or close to empty, it may look like it’s supposed to check if the recipient’s address exists – this process is used by some email verification tools.
(Even though this may be a good way of verifying email addresses, we aren’t using it at Hunter because it’s abusive and would involve sending tons of unnecessary, unwanted mail.)
While it’s generally a good practice to make your cold emails short, don’t make them short to the point they look like spam!
On the other hand, long emails may get flagged because they match a historical pattern of deceitful messages which were meant to confuse the recipient.
Solution: Keep the length of your message appropriate to the cold email context.
Recipient-related reasons
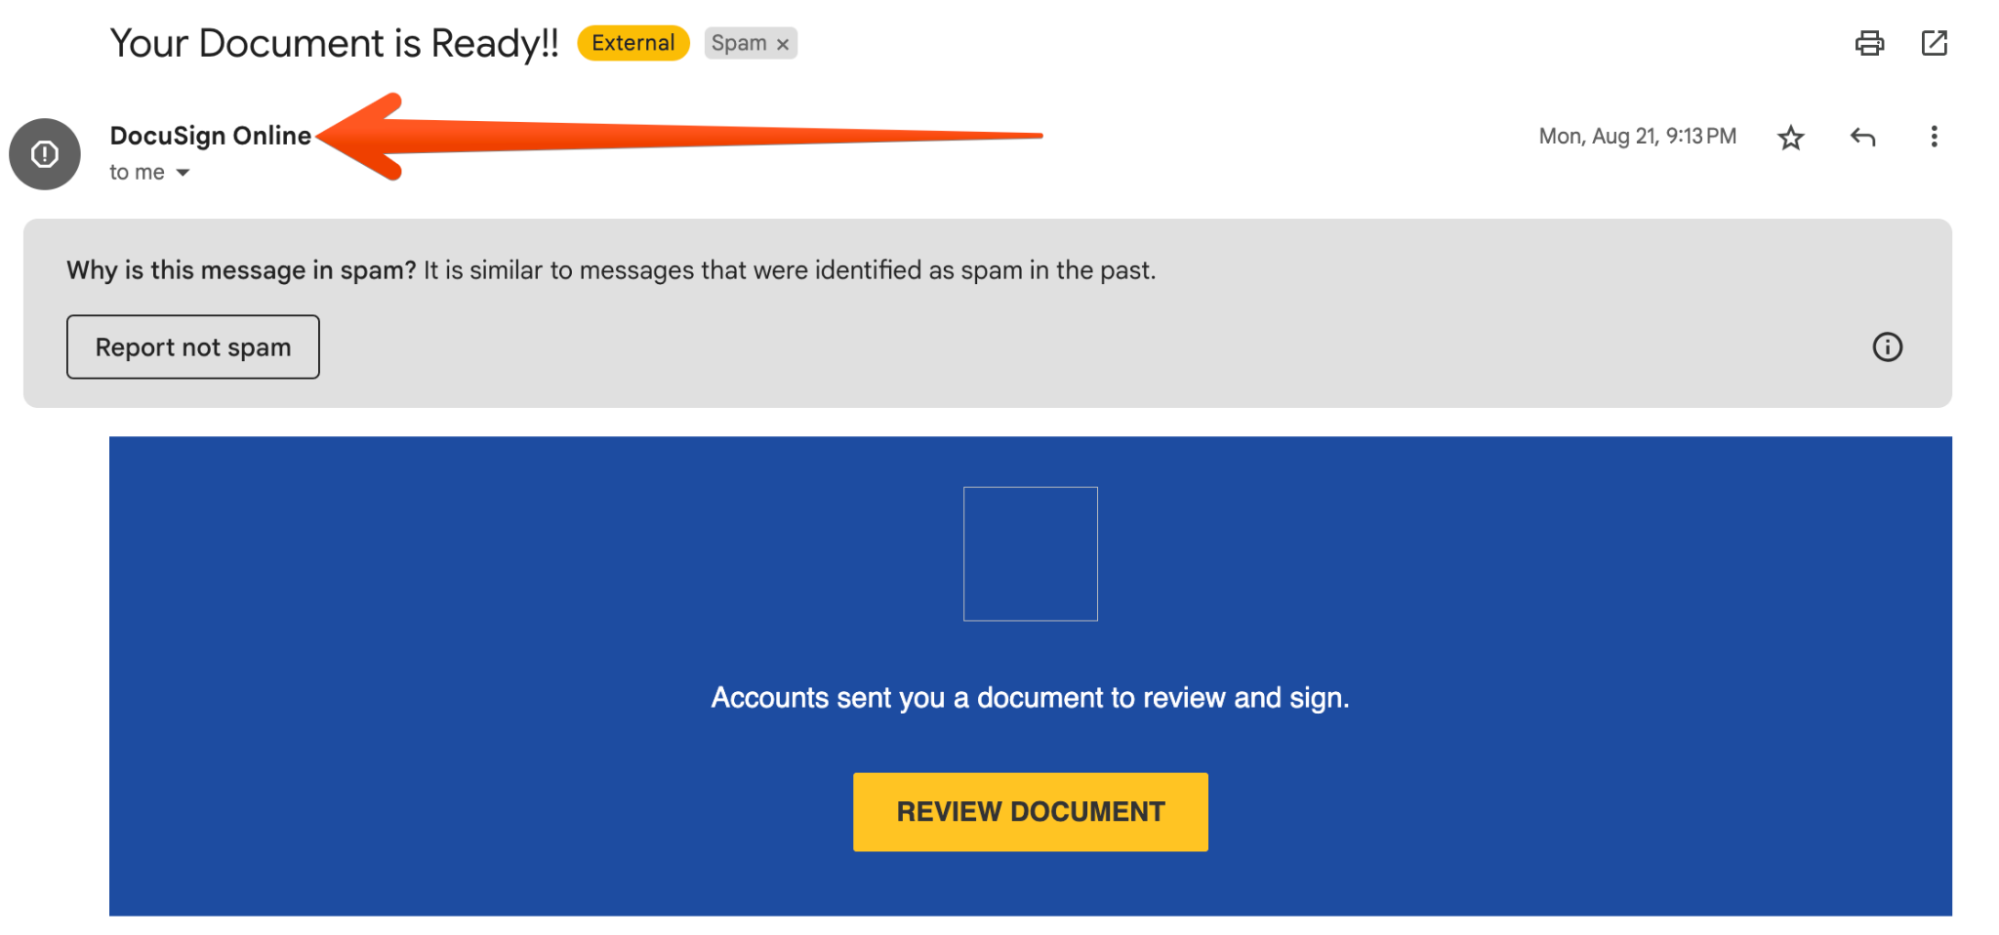
Recipient marks it as spam
If your recipient marks an email as spam, it will… land in spam, and every email you send to that recipient afterwards will most likely also land in spam.
Moreover, spam complaints will affect your deliverability with other recipient’s too.

There are many reasons why people mark emails as spam. Sometimes it’s when a malicious email slips through the spam filter. But they can also do it with a legitimate message that rubs them the wrong way.
When it comes to cold emails, sending inappropriate, unprofessional content can be a reason for getting reported. Especially if you don’t provide an unsubscribe link and your email annoys the recipient, you’re leaving them little choice but to click the Spam button.
Solution:
- Keep your cold emails professional.
- Only send cold emails to qualified prospects.
- Use follow-up emails respectfully and don’t follow up too many times.
- Provide an unsubscribe link to make the recipients unsubscribe instead of reporting spam.
Recipient previously unsubscribed
If you send an email to a recipient that previously unsubscribed, it will likely land in spam. That being said, not getting delivered to the inbox should be the least of your worries in this scenario.
When you accidentally target an unsubscribed recipient, you’re violating every privacy regulation under the sun, and in some jurisdictions, you can even be held legally liable. To find out more, read our article on legal regulations that apply to cold email.
Solution:
- Use a cold email tool that prevents you from targeting recipients who previously unsubscribed.
- Even if you’re using an unsubscribe link, some recipients may not use it and reply with “Unsubscribe” instead. You need to remove them from your mailing lists for good – review the replies you get and look for textual unsubscribe requests.
Low engagement
The engagement your emails generate with their recipients is a sign of low quality for email providers.
If your emails frequently get opened and replied to, it’s a signal that the recipients are happy to receive them. But if they don’t open them and don’t answer, it’s likely that they don’t want to see them in the future.
Gmail recommends warming up your email domain by first sending emails to engaged recipients:
If you send large amounts of email, we recommend you start with a low sending volume to engaged users, and slowly increase the volume over time.
Solution: Maintain a high open rate and reply rate.
Email violates internal policy
Some email servers have internal policies and custom configurations of their spam filters that can quarantine emails based on a variety of factors.
This primarily applies to enterprise-level organizations with exceptionally high security standards.
Solution: If you’re targeting enterprise-level recipients, expect additional obstacles, and apply extra scrutiny to your cold emails.
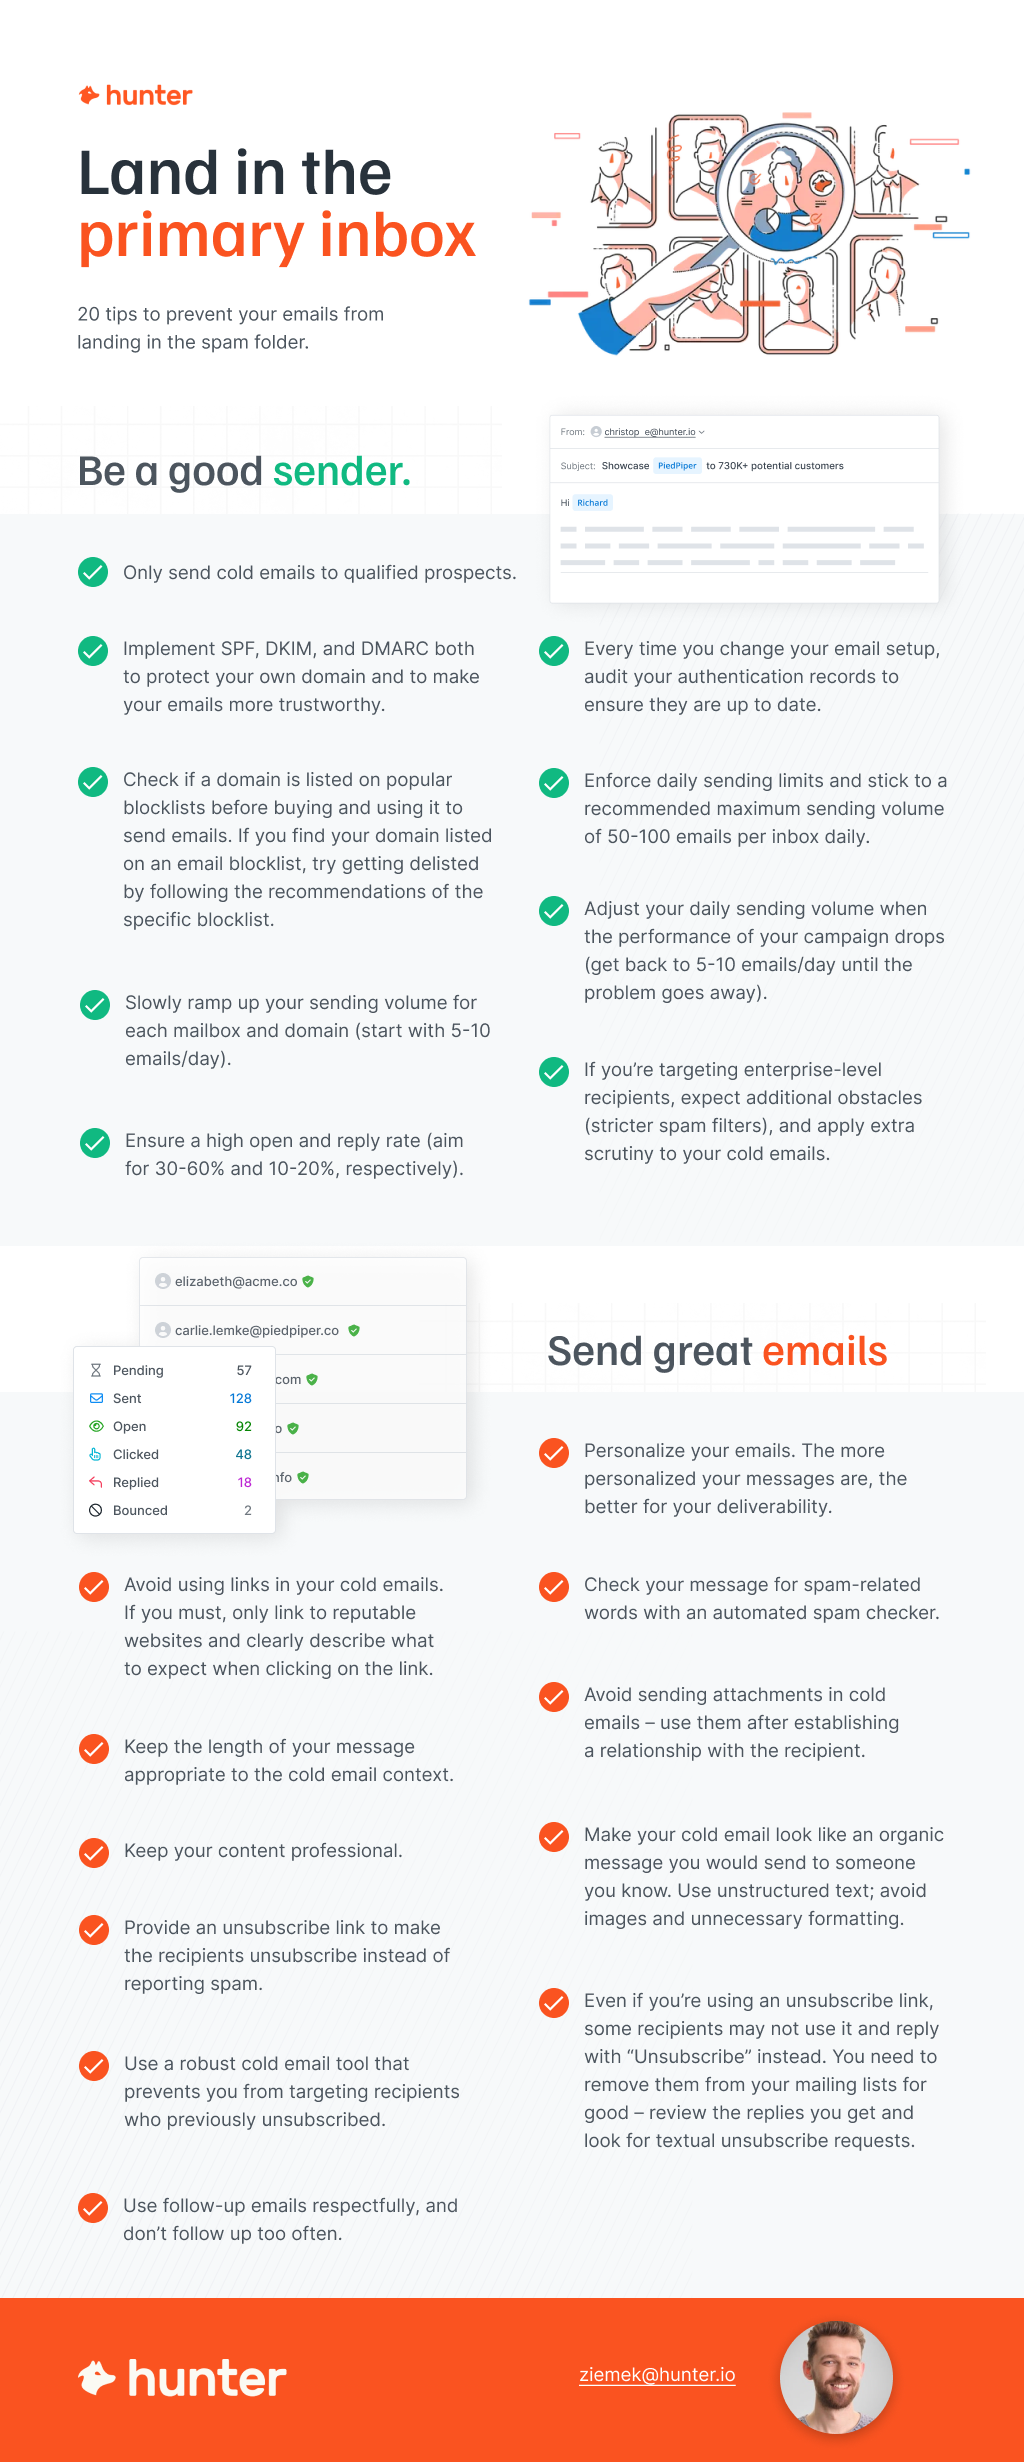
Prevent your emails from landing in spam – checklist
Taking into account every possible reason for why emails land in spam, here’s a checklist you can follow to improve your odds of landing in the primary inbox:
Be a good sender:
- Only send cold emails to qualified prospects.
- Implement SPF, DKIM, and DMARC both to protect your own domain and to make your emails more trustworthy.
- Every time you change your email setup, audit your authentication records to ensure they are up to date.
- Check if a domain is listed on popular blocklists before buying and using it to send emails. If you find your domain listed on an email blocklist, try getting delisted by following the recommendations of the specific blocklist.
- Enforce daily sending limits and stick to a recommended maximum sending volume of 50-100 emails per inbox daily.
- Adjust your daily sending volume when the performance of your campaign drops.
- Slowly ramp up your sending volume for each mailbox and domain.
- Ensure a high open and reply rate.
- If you’re targeting enterprise-level recipients, expect additional obstacles (stricter spam filters), and apply extra scrutiny to your cold emails.
Send great emails:
- Personalize your emails. The more personalized your messages are, the better for your deliverability.
- Check your message for spam-related words with an automated spam checker.
- If possible, avoid using links in your cold emails. If you must, only link to reputable websites and clearly describe what to expect when clicking on the link.
- Avoid sending any attachments in cold emails – use them after establishing a relationship with the recipient.
- Make your cold email look like an organic message you would send to someone you know. Use unstructured text; avoid images and unnecessary formatting.
- Keep the length of your message appropriate to the cold email context.
- Keep your content professional.
- Use follow-up emails respectfully, and don’t follow up too often.
- Provide an unsubscribe link to make the recipients unsubscribe instead of reporting spam.
- Use a cold email tool that prevents you from targeting recipients who previously unsubscribed.
- Even if you’re using an unsubscribe link, some recipients may not use it and reply with “Unsubscribe” instead. You need to remove them from your mailing lists for good – review the replies you get and look for textual unsubscribe requests.