The term "prospecting" has multiple meanings.
I use it to define the process of identifying relevant prospects for your outbound activities.
You can prospect in many ways, from manually looking for relevant companies to sourcing thousands of companies at once from a B2B database like Hunter Discover.
Which prospecting method should you use?
You need to look for tools and methods that leverage the shared characteristics of your ICP.
If your ideal recipients reside in a given country, you’ll need to identify a method that uses demographic segmentation.
However, if the recipient’s location is less relevant than the location of their employer’s headquarters, you’ll need firmographic segmentation.
If your ICP is a company that hired 10 new employees in Colorado in the past 12 months, then neither demographics nor firmographics alone will help – you’ll also need intent (behavioral) data.
Review your ICP and figure out the types of data you’re looking for, then look for the right tool below.
Prospecting tools and methods
Below, you’ll find a breakdown of commonly used types of market segmentation and tools and methods that can allow you to find prospects based on them.
Professional demographic variables
Professional demographics focus on the attributes related to people’s professional capacity. Using demographics, you can find specific people with specific demographic attributes in your ICP.
Professional demographic data providers
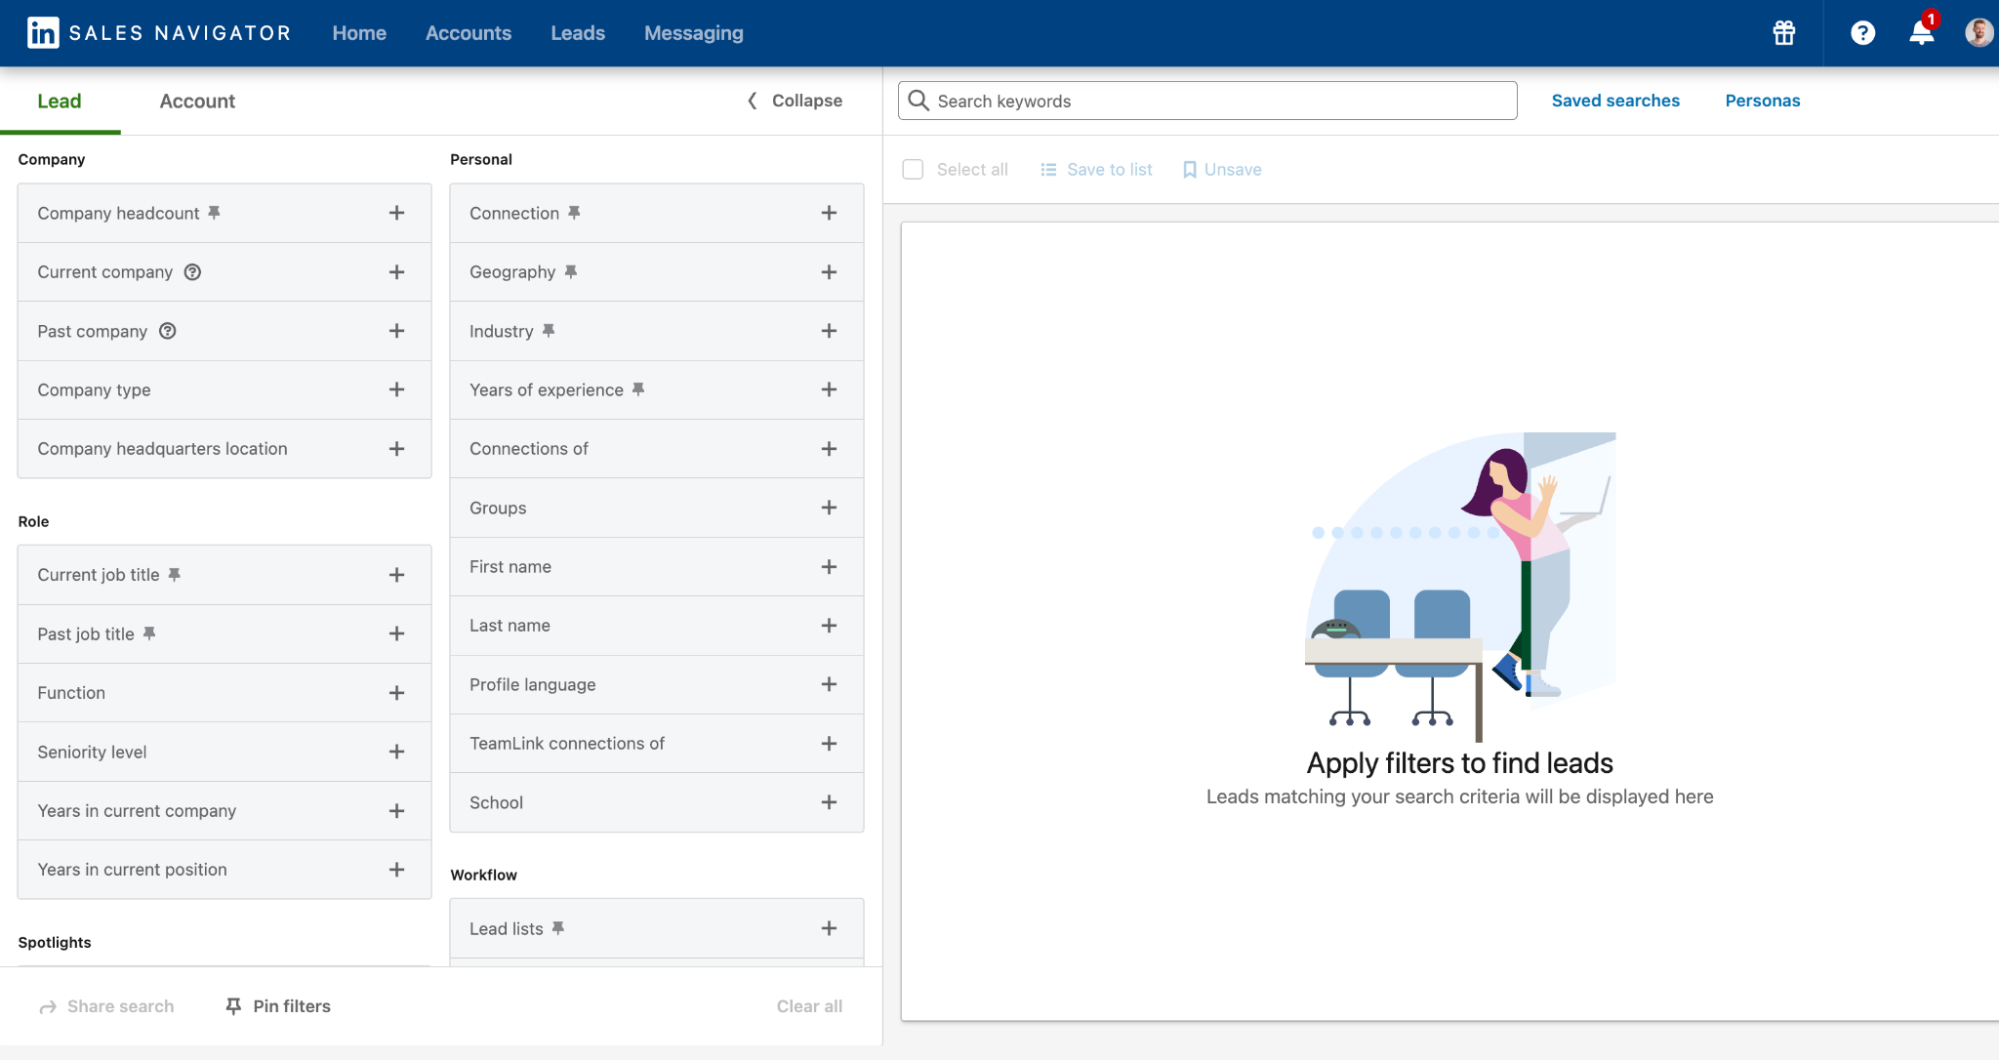
The major data provider in this category is LinkedIn Sales Navigator. Even though it can feel dated from a UX perspective, it has the unmatched advantage of sourcing its data from LinkedIn users.
Professional demographic variables available in LinkedIn Sales Navigator:
- Current and past job titles
- Function (marketing, legal, finance, etc.)
- Seniority level
- Years in current company
- Years in current position
- Geography
- Industry
- Education
- Years of experience
- Employer company headcount
- Current company
- Past company
- Employer company type (public company, non-profit, government-owned, etc.)
- Company headquarters location
- Name
- LinkedIn profile language
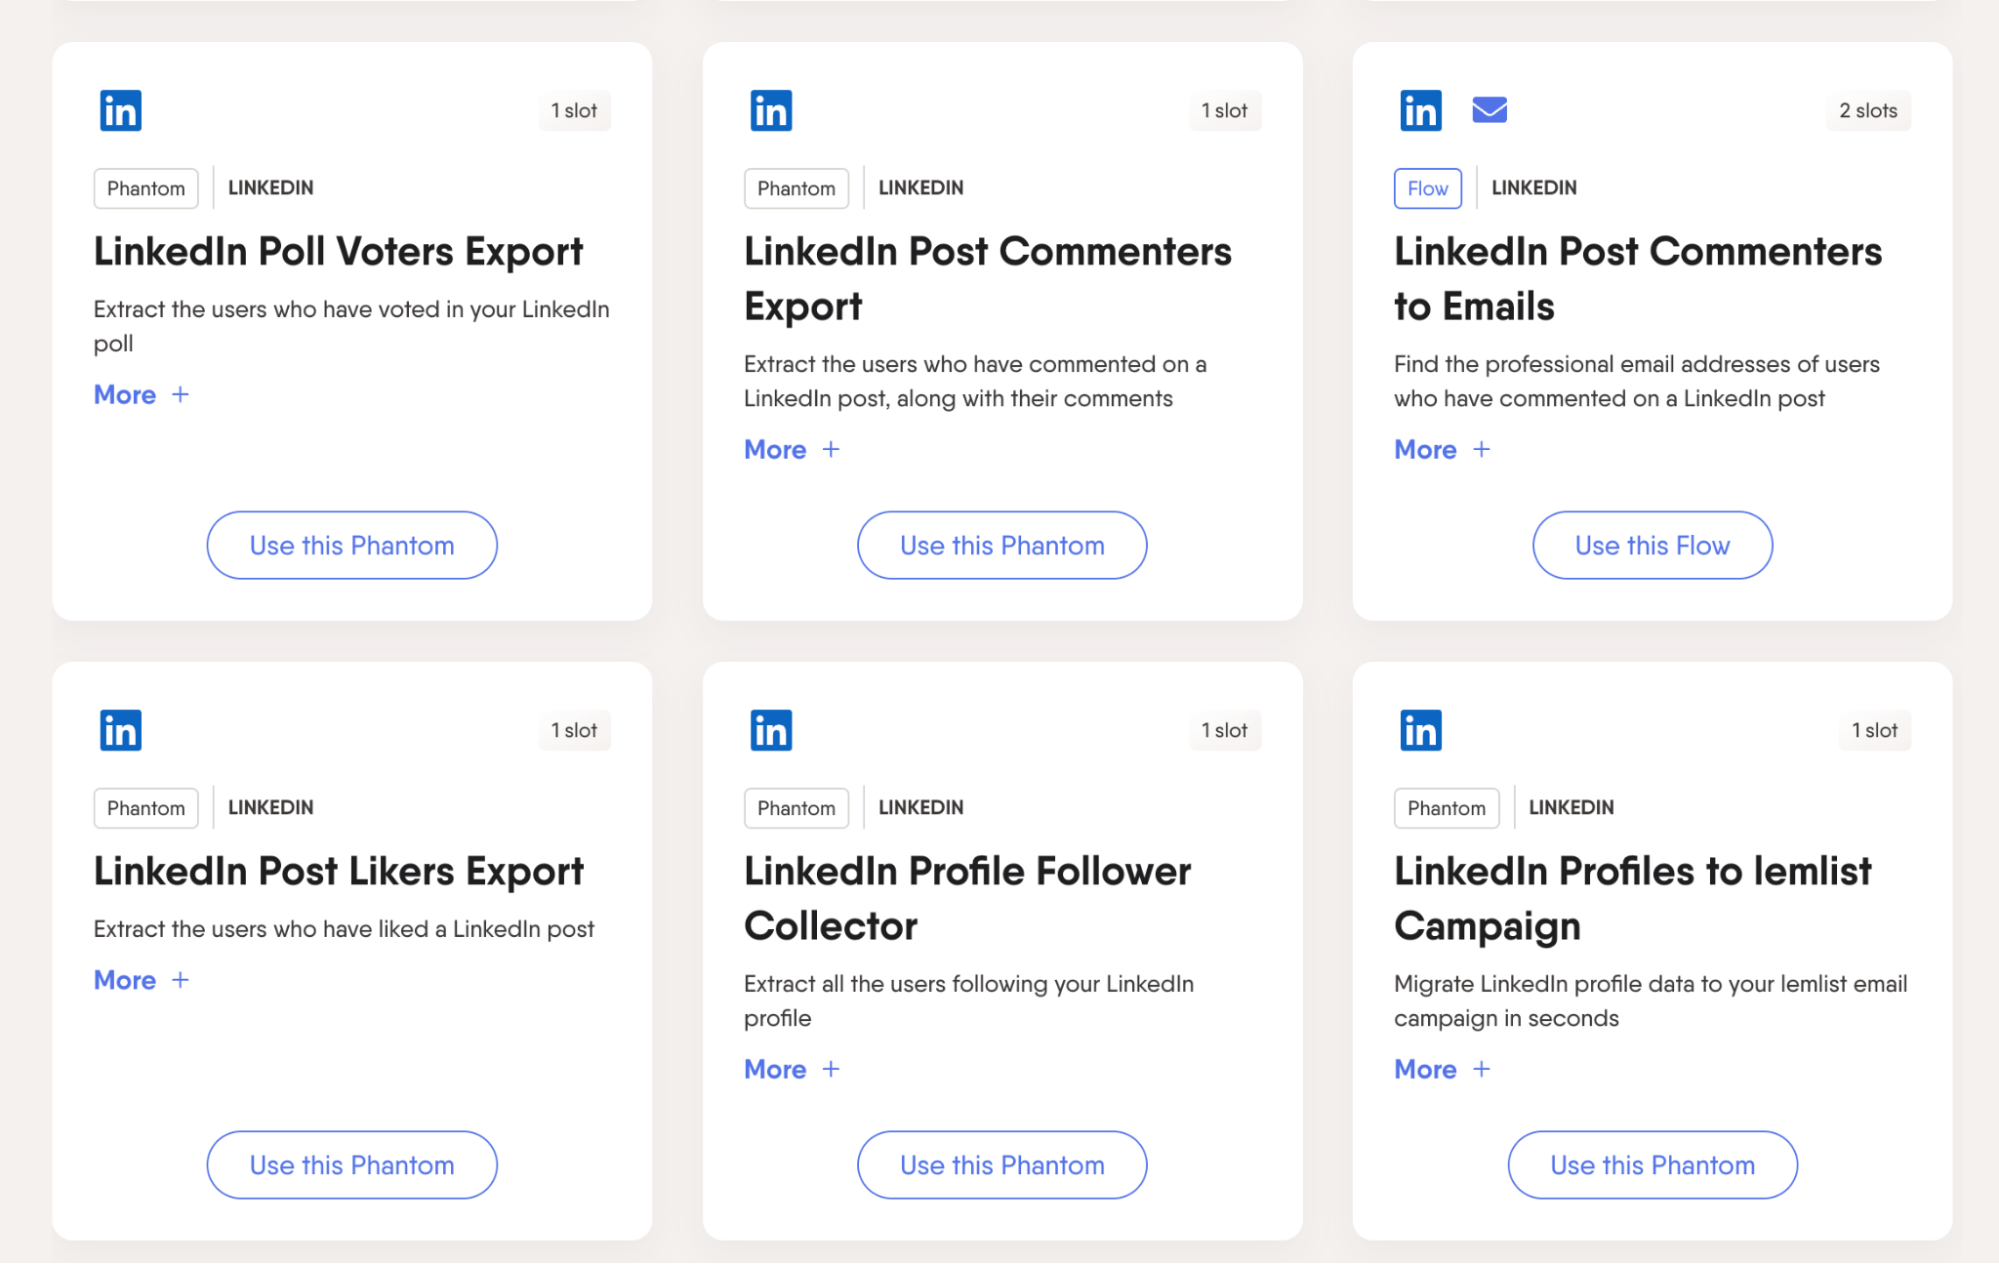
To solve this, use a specialized LinkedIn scraper like Vayne.io, or PhantomBuster.
Other notable demographic data providers include:
- Crunchbase
- Xing (a LinkedIn alternative for German-speaking countries – its B2B database is much more limited, though)
Other methods
- LinkedIn is not the only social media platform that can help you find demographic data. Social media scrapers like PhantomBuster or Apify can scrape data from all major social media platforms, including Slack. These tools offer multiple use cases, e.g., scraping followers of a given profile, people who interacted with a given post, or members of a given group.
Firmographic variables
Firmographics focus on the attributes of companies.
Firmographic data providers
While you can use LinkedIn Sales Navigator and many other B2B databases to find companies, other data providers focus on firmographic data specifically and offer a wider range of variables to use for filtering.
If you're looking for company-level data, I recommend Hunter Discover. It's a firmographic database sourced from the open web, and it's seamlessly connected to Hunter's email-finding tools.
Hunter Discover lets you search for companies based on:
- Headquarters location
- Industry (487 detailed industries to choose from)
- Keywords (AI-generated based on the company website)
- Headcount
- Technologies used (technographics)
Discover doesn't just surface thousands of relevant companies – it also provides detailed information about them including social media links, detailed description, and more.
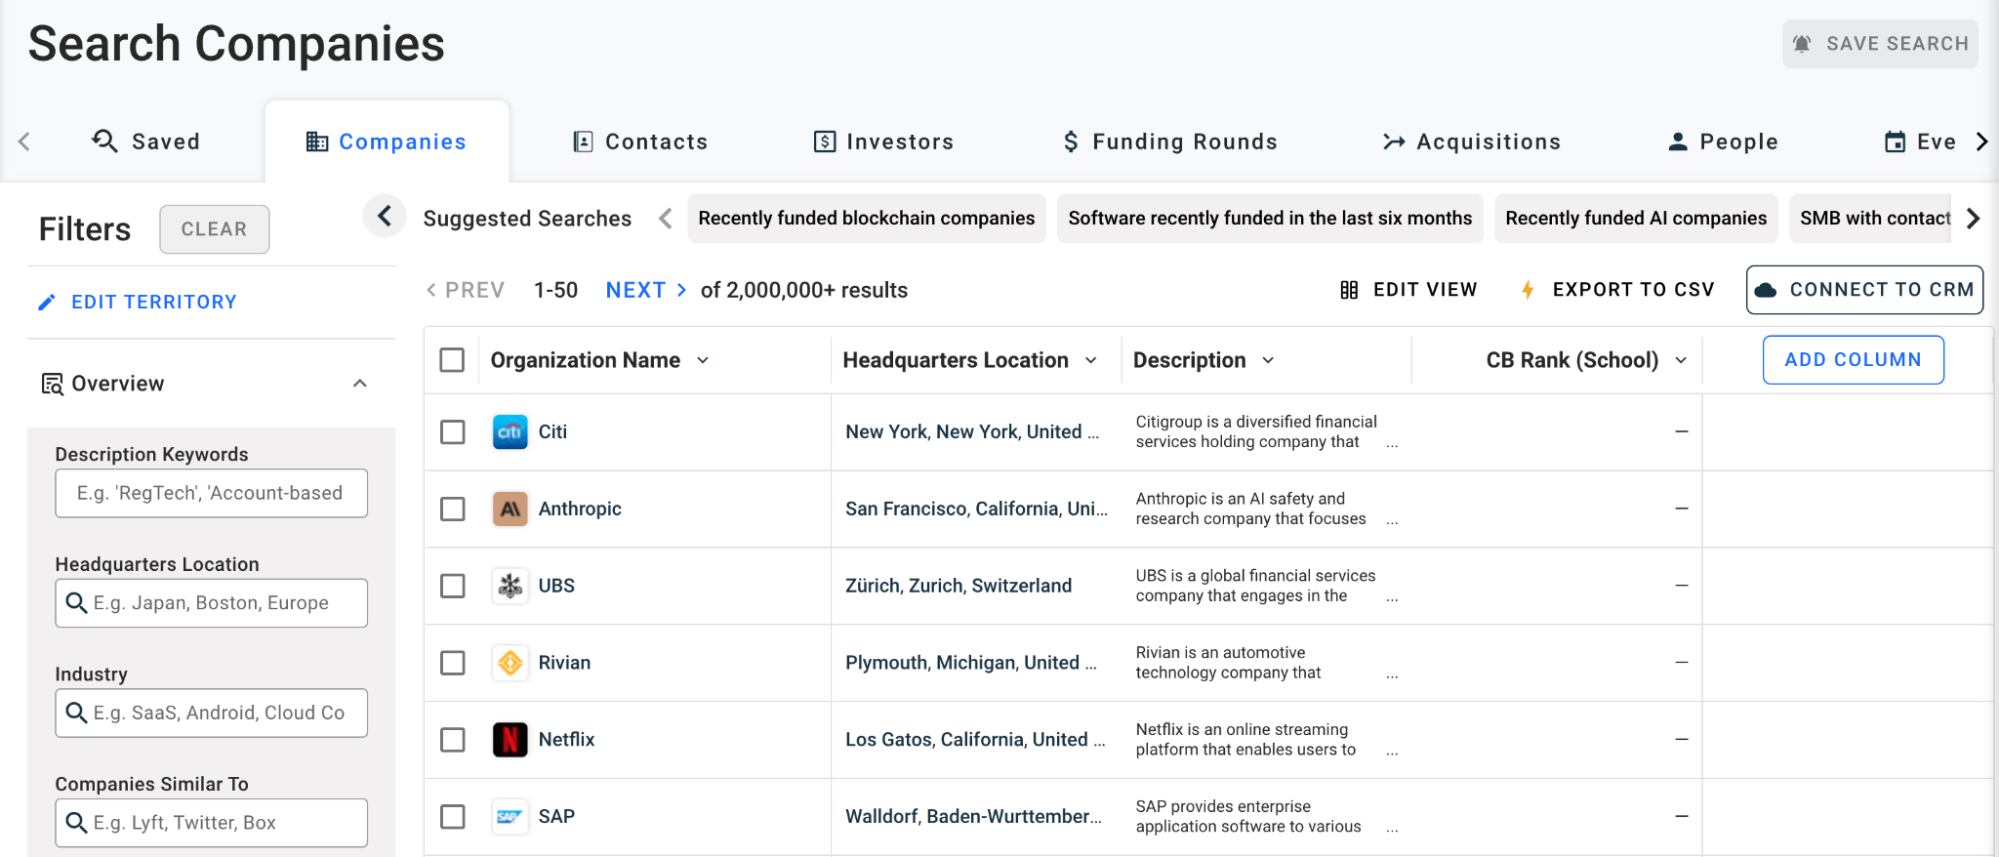
A different company-focused database is Crunchbase, which provides impressive data on mergers, acquisitions, and funding.
Firmographic variables available in Crunchbase:
- Description keywords
- Headquarters location
- Industry
- Companies similar to (a way to find lookalike companies)
- Employee headcount
- Date founded
- Revenue
- Company type (non-profit or for-profit)
- IPO status (public, private, de-listed)
- Mergers and acquisitions status (was acquired or made acquisitions)
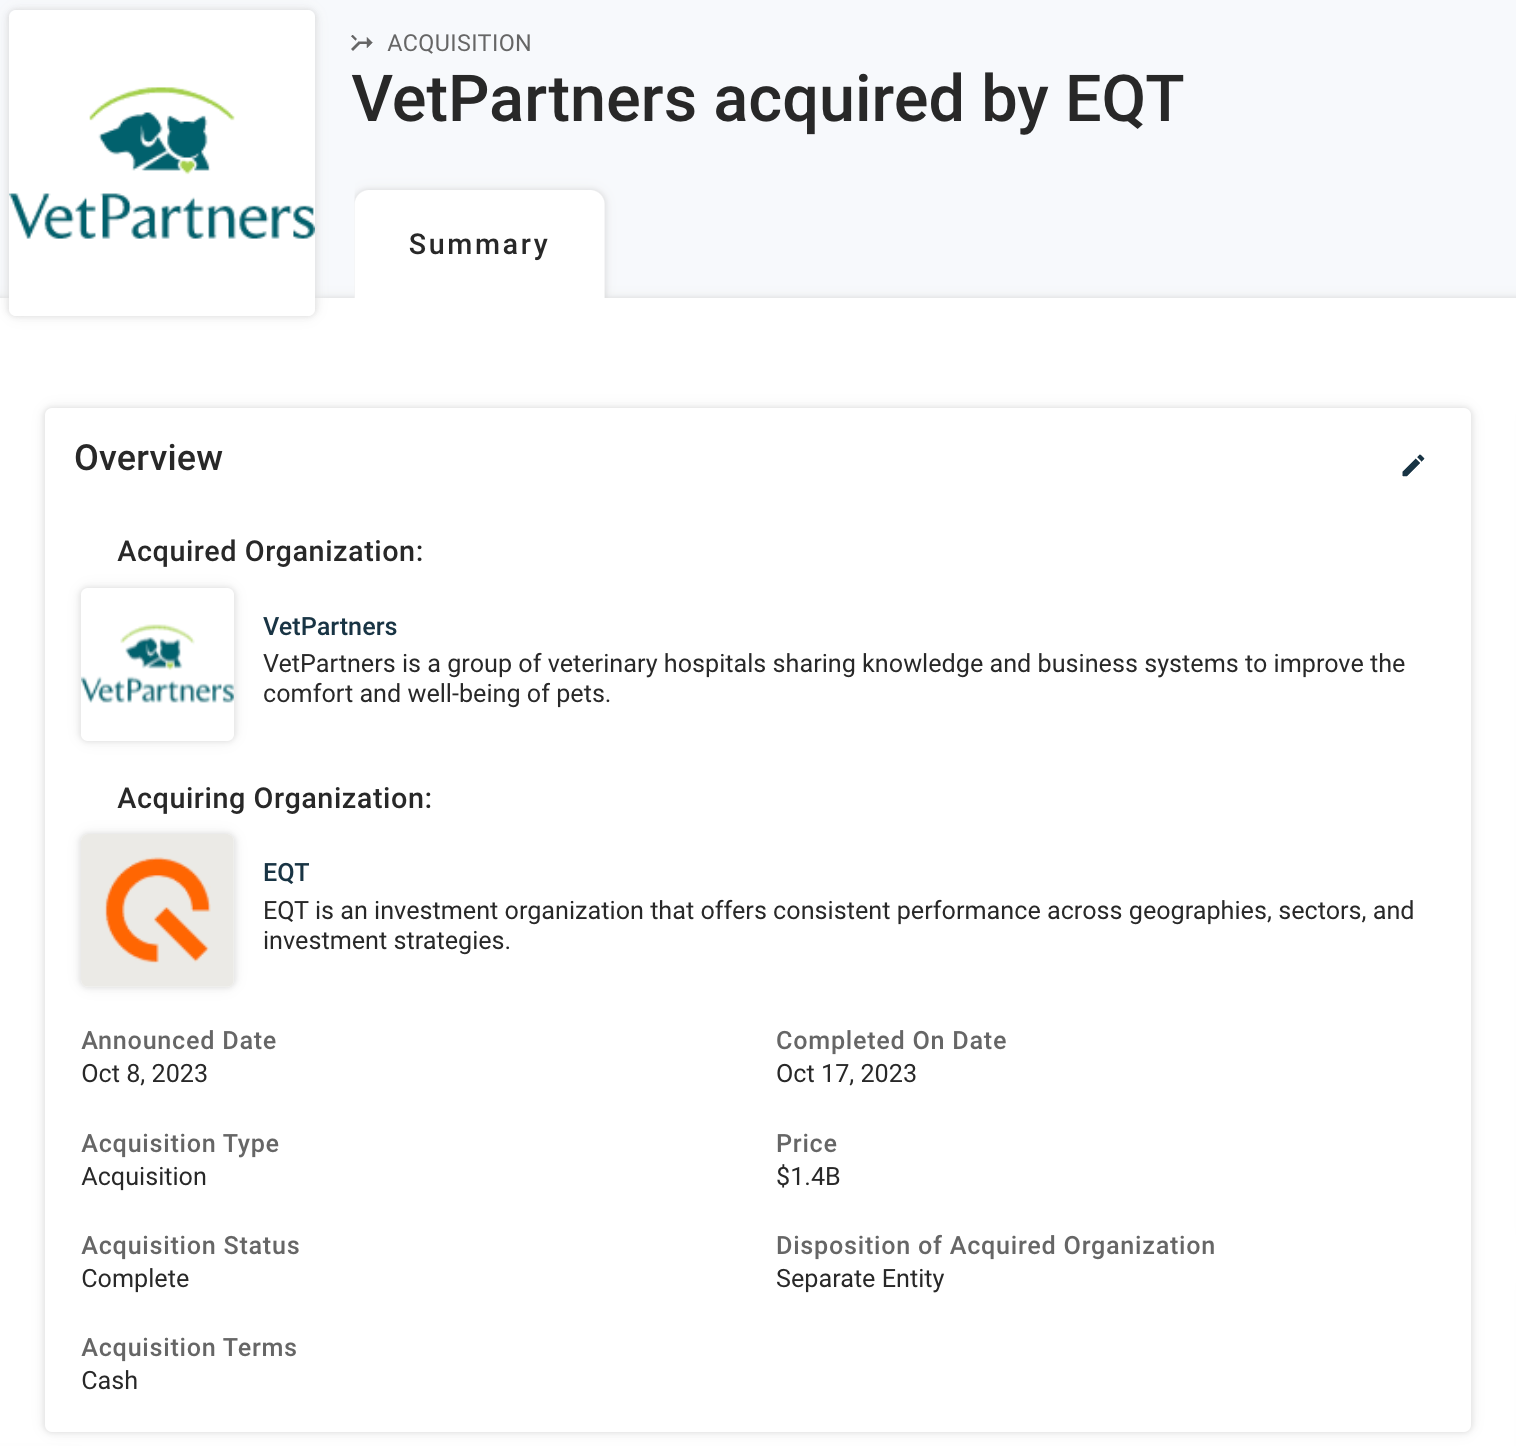
- For acquisitions: Acquisition type (acquisition, merger, leveraged buyout, acqui-hire, management buyout), announcement date, price
- Website traffic (sourced from Semrush)
Crunchbase also offers an unmatched amount of information on investors:
- Investor type (venture capital, angel investor, accelerator, etc.)
- Number of investments
- Number of exits
- Number of organizations in portfolio
- Diversity spotlight (for investment companies with a diversity focus, e.g., funding Black-led companies)
- Investment amount
- Companies funded (e.g., find companies that invested in Lyft)
Other noteworthy firmographic data providers:
- LinkedIn Sales Navigator: number of LinkedIn followers, headcount for specific departments and growth for specific departments, Fortune 500 companies,
Other methods
- Many governments maintain databases of business entities registered in a given country. Some of these databases can be very valuable. For example, the SEC (Securities and Exchange Commission, a US government agency) runs EDGAR – a database you can use to look for businesses registered in the US. EDGAR surfaces all documents (e.g., annual reports) filed under the Securities Act.
- You can target social media influencers based on how successful they are on each platform, e.g., you can use ChannelCrawler to find YouTube channels with a certain subscriber count tied to a company's LinkedIn account.
- You can use Apify to scrape Google Maps. This method allows you to find small businesses operating in a specific region or location, which you might not always find on LinkedIn. It’s also useful for targeting companies in developing countries, which may be difficult to find using typical B2B databases like Sales Navigator.
Technographic data
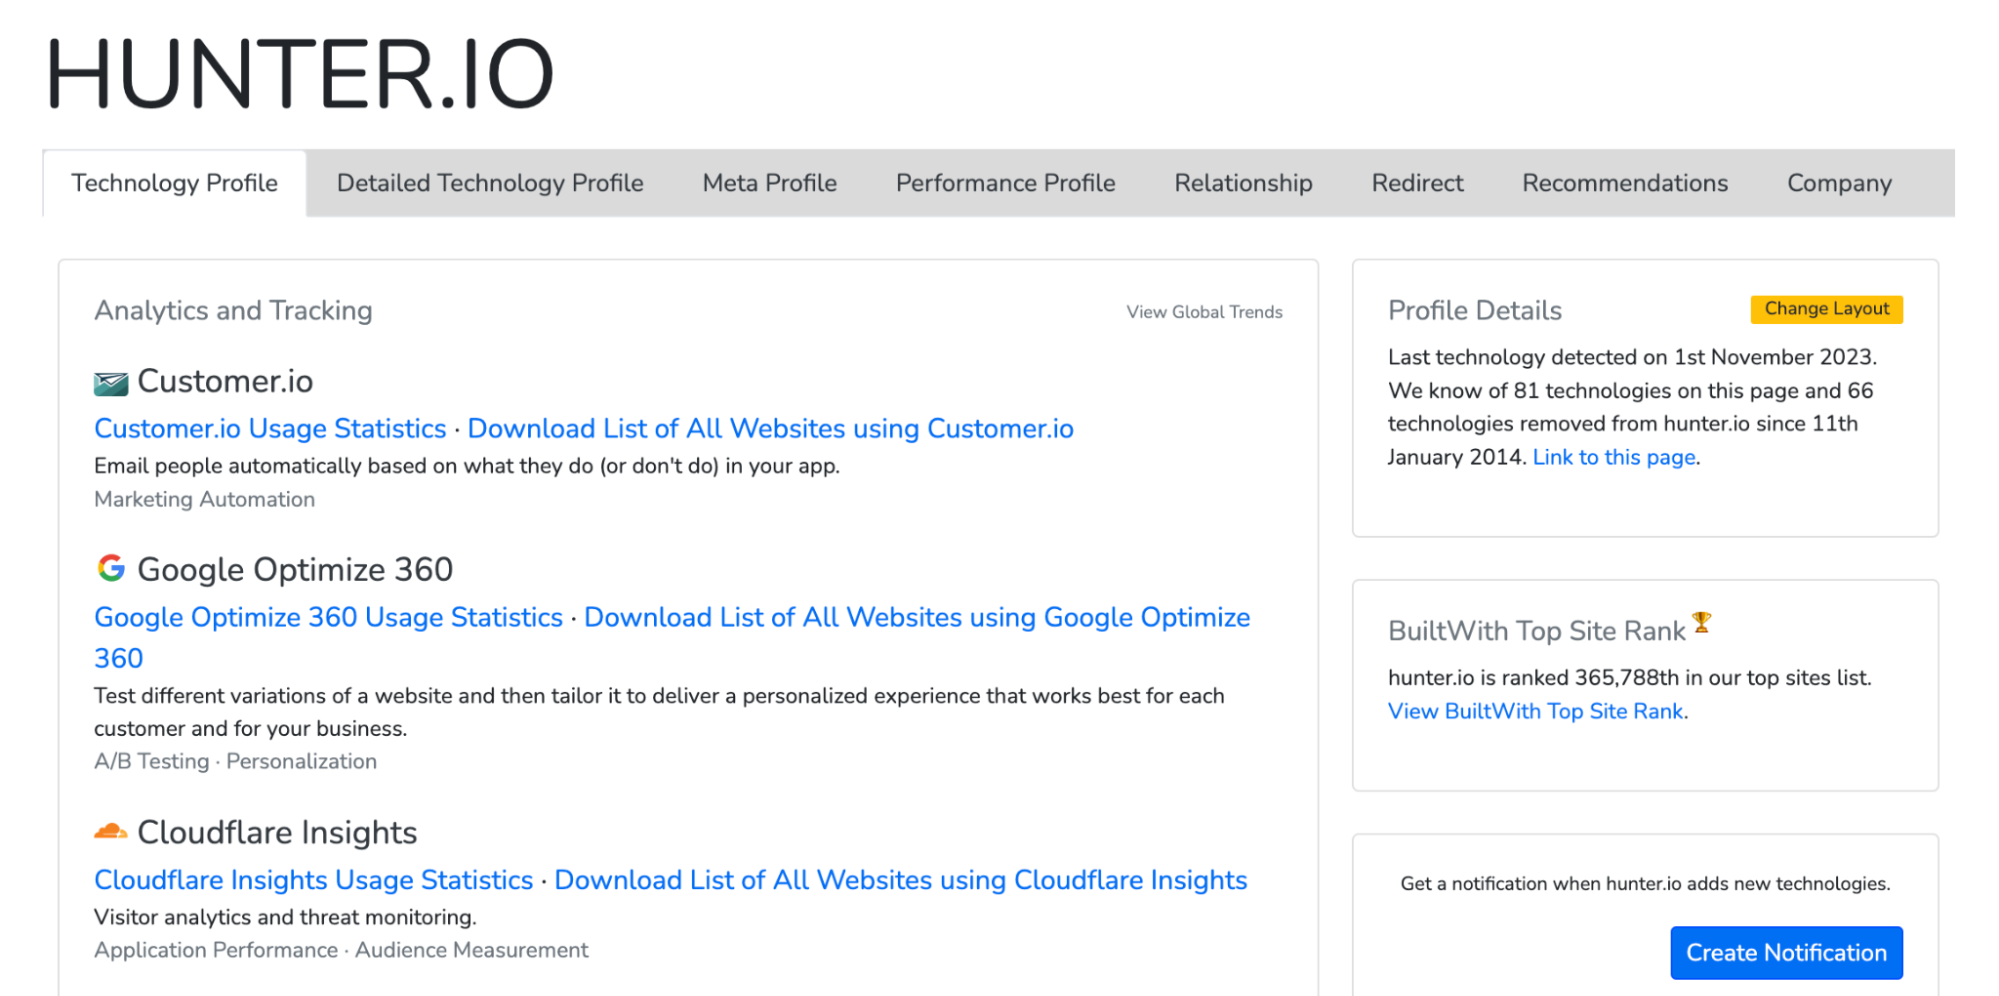
Technographics describe which technologies are used by a company. Technographic data is unique in that it requires specialized ways of collecting it.
Technographic data is a fairly broad category: it can describe everything from the software employees use to send emails and the specific JavaScript frameworks used on the website to the hardware used in a factory.
A popular technographic data category, and the only scalable one, focuses on identifying technologies traced from websites. They can include specific web technologies used to build the website itself and other tools that leave traces in the source code, like analytics or marketing automation tools.
Technographic data providers
There are three main data providers in this category:
- Hunter's TechLookup
- BuiltWith
- Nerdydata
All three tools use very similar mechanisms to analyze websites, and the differences in how they segment the data are subtle; I recommend you try each tool to see if it has the specific variables you’re looking for.
Other methods
- Review platforms like G2, Trustpilot, or ProductHunt, can be used to find companies using a specific product. For example, there are over 5,000 G2 reviews for Jira. You can scrape these reviews using Apify – you’ll get the reviewers’ names, and you’ll be able to use their reviews to pinpoint the specific things they liked or disliked about the reviewed piece of software.
- You can use Hunter Signals to find companies that mentioned a specific tool or technology in their job offers. If they’re looking for someone familiar with a given piece of software or technology, they’re likely using it or planning to use it.

Behavioral (intent-based) data
Behavioral segmentation is probably the broadest category you can use in prospecting. And since capturing intent is the best way to send relevant outreach, the market of B2B databases offering intent-based segmentation is quickly growing.
Mergers, acquisitions, and funding rounds
Funding events, as well as mergers and acquisitions, are often covered by news outlets. This makes targeting companies or people involved in these events fairly easy.
If you can find out when a company gets funding, you can also find out when it has a growth budget. If you can quickly react after a company gets acquired or through a merger, you can be the first to offer HR or legal advice.
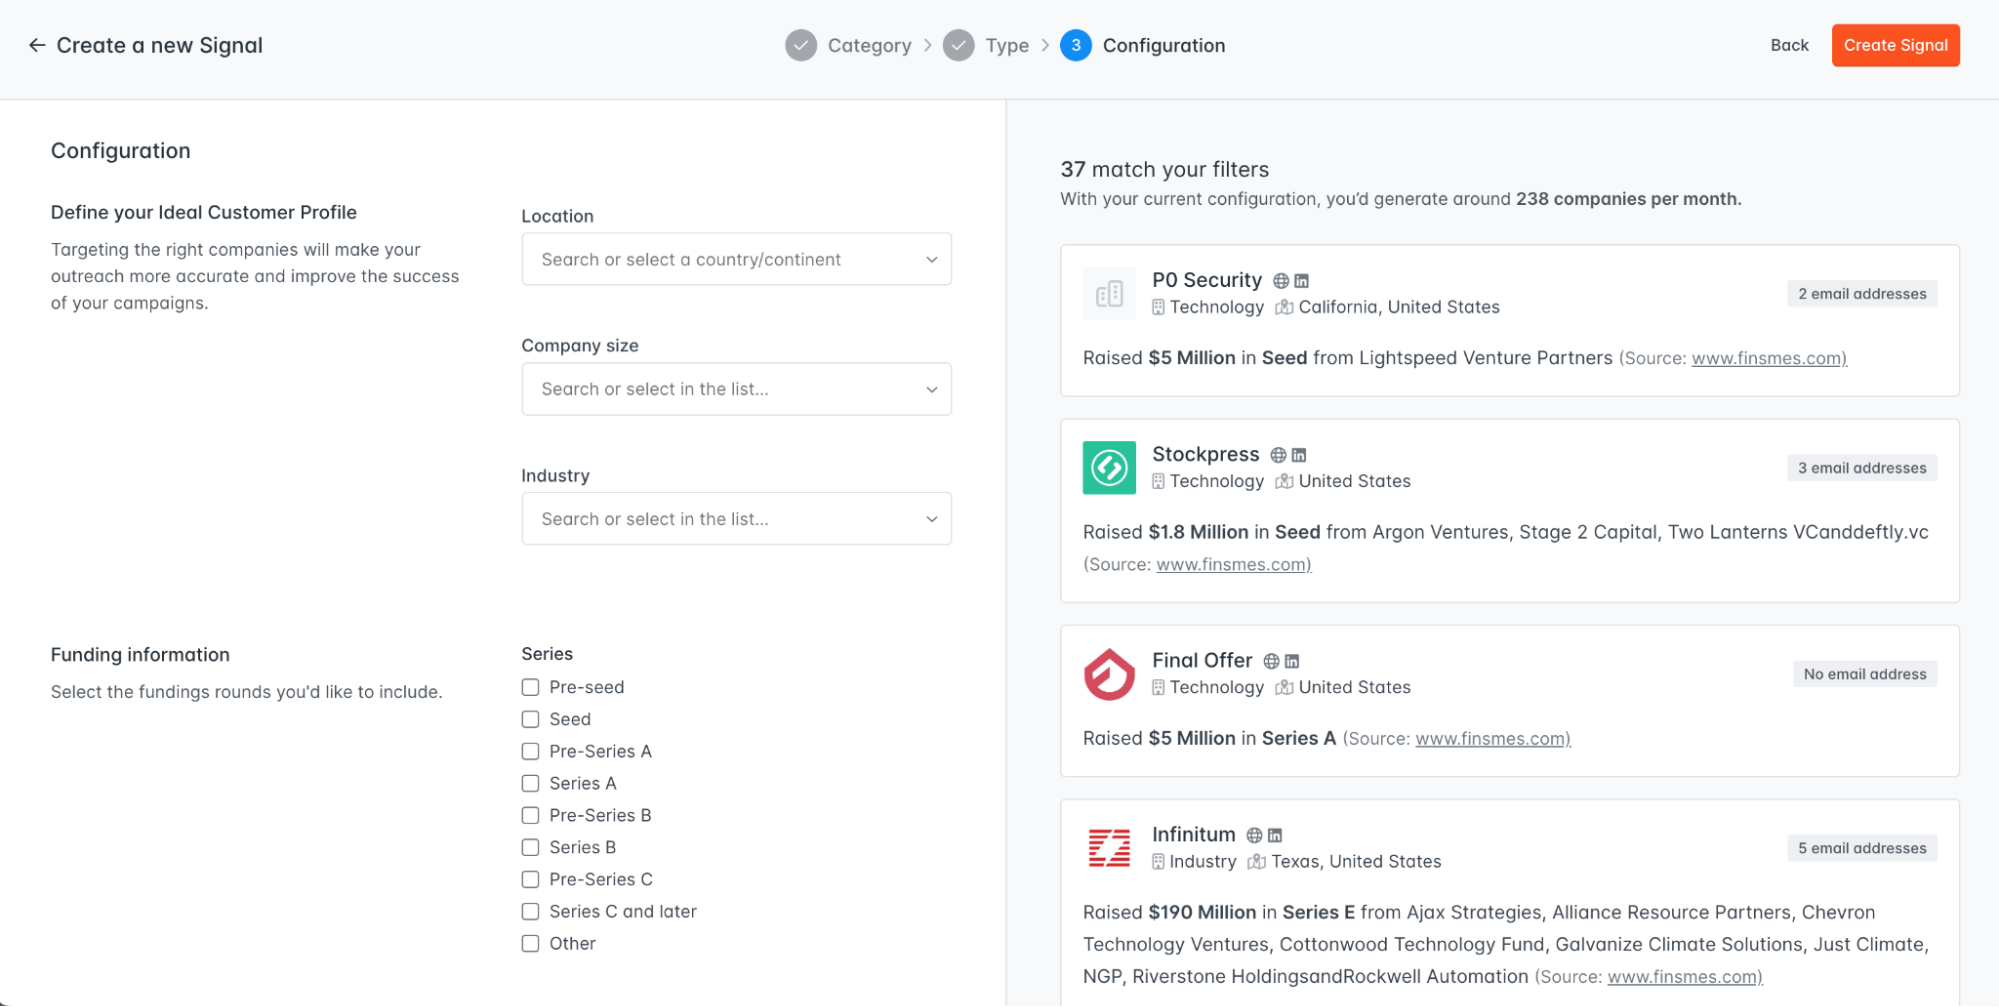
Hunter Signals can help you find companies that recently received funding. You can also filter the results to target specific funding rounds (from pre-seed to series C and later).
If you’re looking for mergers & acquisitions data, Crunchbase remains a good option – especially if you’re looking for historical data. It has tons of data points for each transaction.
Job changes
There’s a whole category of tools tracking job changes. Knowing when people leave or join companies, you can contact them or people at those companies with relevant offers, e.g., when:
- Your primary contact leaves a customer account,
- A former partner joins a company aligned with your ICP,
- A prospect gets promoted and is granted new responsibilities.
Tools in this category include:
- Champify or Usergems can let you track people and be the first to know when they switch jobs.
- LinkedIn Sales Navigator has a filter for people who changed jobs in the past 90 days, and it can find companies with a leadership change in the past 90 days.
Job offers
When a company seeks new employees with specific skills, it wants to solve specific problems. And if you can solve these problems with your product or service, it’s the perfect opportunity to send a relevant cold email campaign.
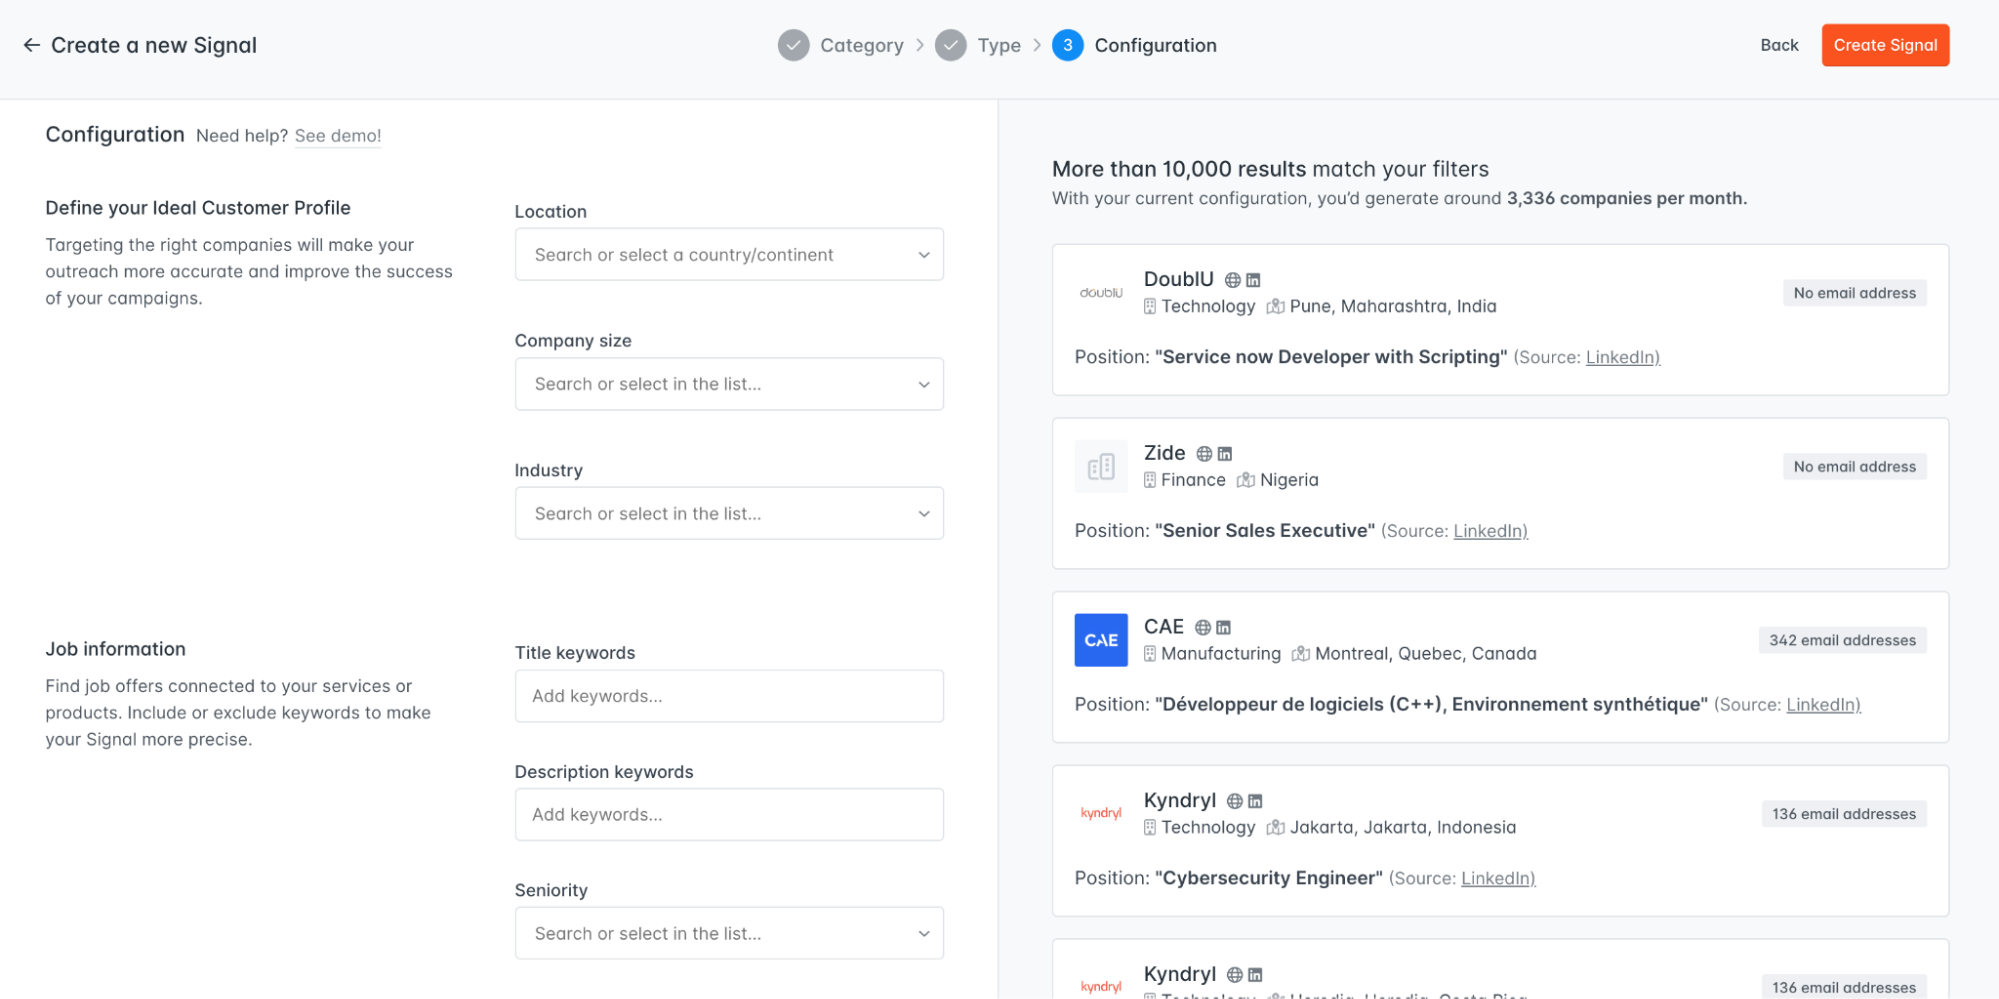
Hunter Signals offers a large database of fresh job offers you can filter using keywords that appear in the job title/description and seniority level.
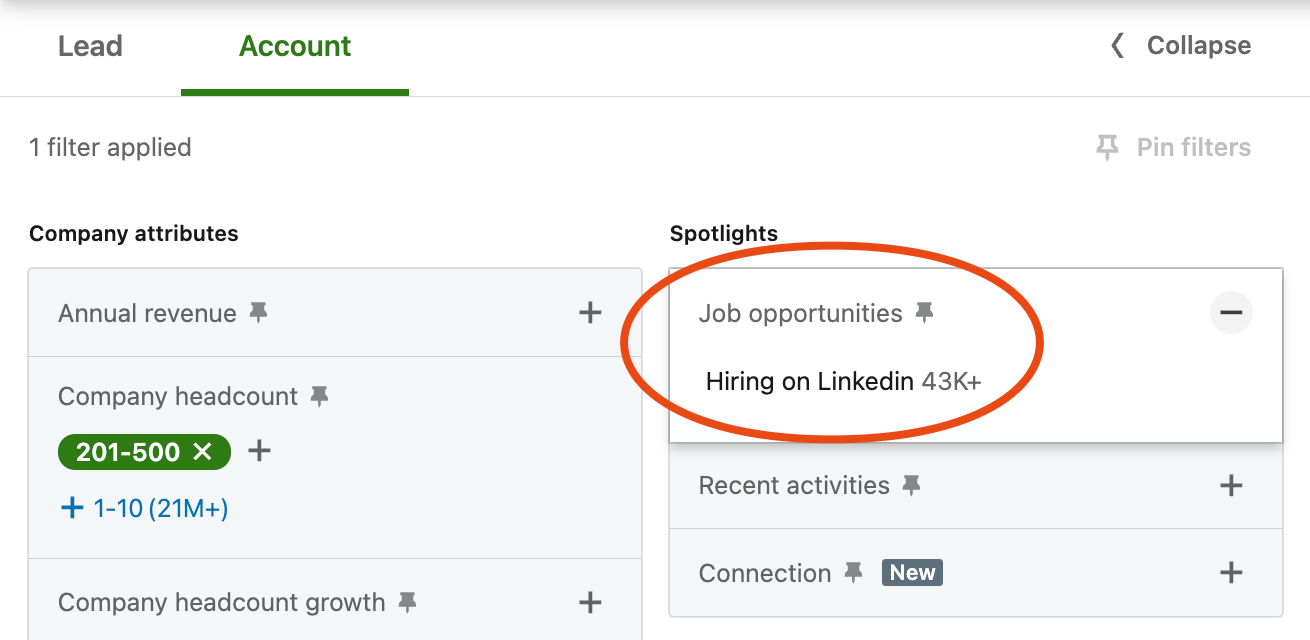
You can also use LinkedIn Sales Navigator to find companies posting job offers specifically on LinkedIn.
Website visits
If people at a company are frequent visitors to your website, especially your money pages, you might want to reach out to that company proactively. But you need specialized tools to surface that information – Google Analytics won’t be enough.
Clearbit is known for its ability to integrate with your CRM and enrich firmographic data, but it’s also worth noting that Clearbit can analyze your website traffic and surface the companies visiting your website. (Here’s a quick demo.)
Company news and events
Some situational data is more subtle, e.g., when a new blog post is published on the company website or when a news article cites rumors about a company that’s going public soon.
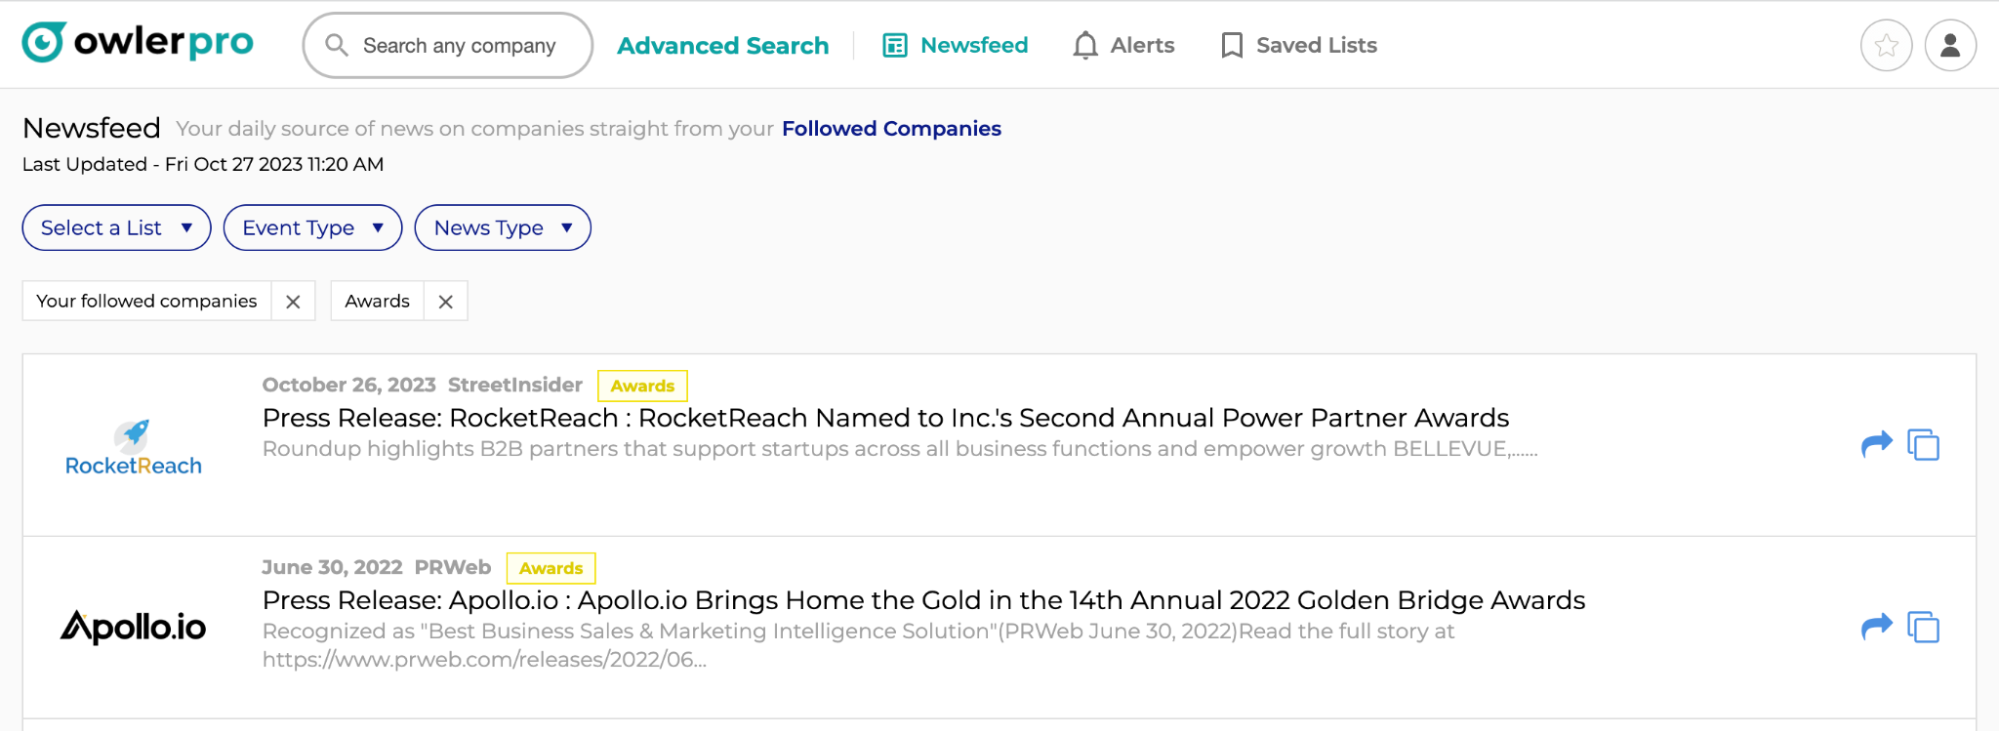
Owler lets you find and follow companies in your ICP. It then provides a feed for all followed companies that keeps you up-to-date on events and news like:
- Published blogs and videos,
- Acquisitions, funding, IPO rumors,
- Partnerships, and more.
Next steps
Hopefully, you found a tool to find prospects based on your ICP and created a healthy list of prospects. Your next step is to find their verified email addresses to contact them!

