If you’ve ever attended a conference, you know how frustrating it is to have a list of names from badge scans, business cards, and conversations at the coffee station, but you don't have email addresses to follow up with.
This Hunter playbook shares the workflow for fixing that using Bulk Email Finder for the CSV you bring home, and the Chrome extension that handles the names you collect while you’re still at the event.
Both feed into Sequences, so you can start the next conversation while the first one is still fresh.
What you'll do
- Part 1: Capture names and companies while you’re at the event, using the Chrome extension for any opportune moments for on-the-fly lookups.
- Part 2: Find emails with Hunter’s Bulk Email Finder when you return home.
- Part 3: Send a three-touch sequence that references the event.
Why this matters
Events generate intent that fades fast. The longer the gap between a conversation at a booth and a message in their inbox, the lower the chance they remember which conversation was yours.
Three columns of data in a CSV are all you need to prevent that:
- First name
- Last name, and
- A company name (or website)
That’s it - anyone can capture this in a Note, on the back of a business card, or in a spreadsheet.
Small lists are not a weakness here, either.
Hunter’s State of Email Outreach 2026 shows that lists under 100 verified contacts generate 158% more replies than lists of 500 or more.
Event lists are typically small and high-intent, which is exactly the size that performs best.
Part 1: At the event
Most guides on event follow-up assume you’re an exhibitor with a badge scanner.
Half the useful conversations at any conference happen at the coffee station, at dinner, or in the hallway between sessions. The Hunter Chrome extension is perfect for acting fast.
- Install the Hunter Chrome extension for free.
- When you collect a name and company, open the company’s website and click the Hunter icon in your toolbar. You can also use the Microsoft or Firefox version.
- Type the person’s name to get their email, or browse the addresses Hunter has already indexed for that domain.
- Save the contact to a Leads list that contains your event name.
Part 2: After the event
This is perfect when you have a badge scanner export, a CSV from the event organizer, or a spreadsheet you built yourself.
The Bulk Email Finder takes names and companies and returns verified email addresses:
- Open your CSV. Make sure it has columns for first and last name (or a single full-name column), plus a column for the company name or website.
- In Hunter, go to Bulks -> Email Finder -> “+ New bulk.” Name it “[Event] attendees.”
- Drag and drop your CSV or TXT file
- Map the columns
- Finish the upload, and you’ll be returned an email address with a verification status (a green Valid checkmark) or a confidence score if the address is plausible but not fully verified.
- In the Import as leads section, click Import.
- Choose an existing list or create a new one, like “[Event] attendees Q2.”
- Filter your new Leads list to verified addresses only before you send.
- Move any accept-all addresses into a separate list and email them after your main sequence has finished.
Bulk Email Finder runs every result through Hunter’s Email Verifier before it reaches your list, which helps keep your bounce rate under the under-2% target healthy sending domains need.
Part 3: Turn the list into outreach
Now you need to create the email sequence:
- In your event-attendee Leads list, click Send a sequence.
- Build three emails: an initial message plus two follow-ups. Plain text, no images, no attachments on the first email.
- Reference the event as context, not as a pitch hook. An opener that works: “It was good to meet you at [Event] last week. The conversation about [topic] reminded me of a [content type] we conducted on [related topic]. Worth a look?”
- One CTA per email, kept low-friction: “Worth a look?”
- Stop-on-reply active. Send during business hours in their time zone.
- Use the AI Writing Assistant to personalize each opener to the recipient’s role.
- Run the Deliverability Checker on your sending domain before launching. This matters if it’s the first time you’re emailing this audience from this address.
What this looks like when it's working
For an event list of 50 to 200 contacts:
- 80% or more of rows return a verified or scored email address from Bulk Email Finder.
- Bounce rate under 2% on send.
- 4 to 6% reply rate on the three-touch sequence, in line with Hunter’s State of Email Outreach 2026 benchmarks.
If your bounce rate creeps above 2%, stop sending and re-verify the list before continuing. If your reply rate is below 4%, the message is usually the issue, not the list.
To start:
- Download the Chrome Extension
- Upload your lists via Bulk Finder
- Send your sequence in Hunter
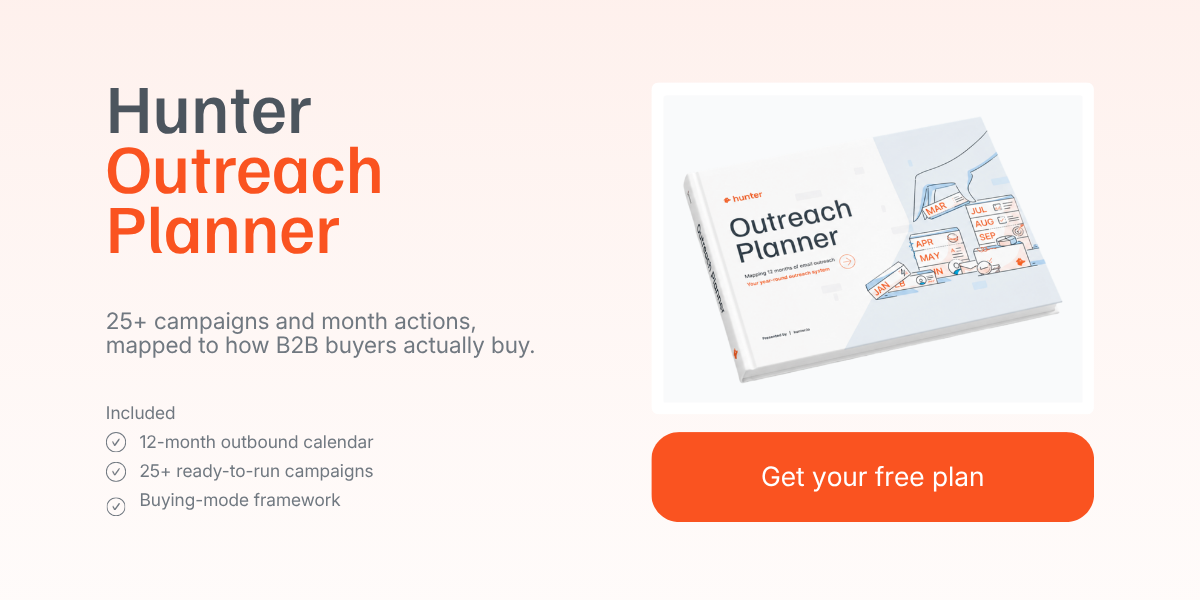
Put all of this into action today with Hunter's Outreach Planner:


 Send cold emails with Hunter