
Looking to start guest posting? Here’s a step-by-step guide on everything you need to know to start guest posting in 2025.
What is guest posting?
Guest posting (also known as guest blogging) is the process of writing blog posts for websites other than your own to build links, drive traffic, and gain other benefits.
The benefits of guest posting
Publishing guest posts on other websites can have quite a few benefits for people or companies doing it. It can help you:
- Improve brand awareness – Writing guest posts can expose your brand to new audiences and let more people know who you are and what you do.
- Drive traffic – When done consistently, guest posting can be a valuable source of referral traffic for your website.
- Build links – Guest posting can be a great way to build links to your website so that you can improve search engine rankings.
- Develop relationships – By reaching out to pitch guest blog posts, you can start relationships with other people and businesses in your industry.
- Build thought leadership – Guest posting gives you a way to share your expertise with your audience, which helps you build thought leadership in your industry.
How to get started with guest posting
In this section, we’ll go over you can get started with guest posting and get your first guest post published.
Find guest posting opportunities
The first step is to find websites where you can publish a guest blog post. There are a lot of different ways you can do this. Here are my three favorite ones:
Use Google
This first method for finding guest blogging opportunities is fairly simple. All you have to do is use these search queries in Google:
- [your keyword] + “guest post”
- [your keyword] + “write for us”
- [your keyword] + “guest post by”
- [your keyword] + “become a contributor”
- [your keyword] + “contributor guidelines”
This should provide you with plenty of websites that accept guest posts.
Use Ahrefs’ Content Explorer
Using Google to find guest post opportunities, while effective, can be time-consuming. You can save time by using Ahrefs’ Content Explorer.
Here’s how to do it:
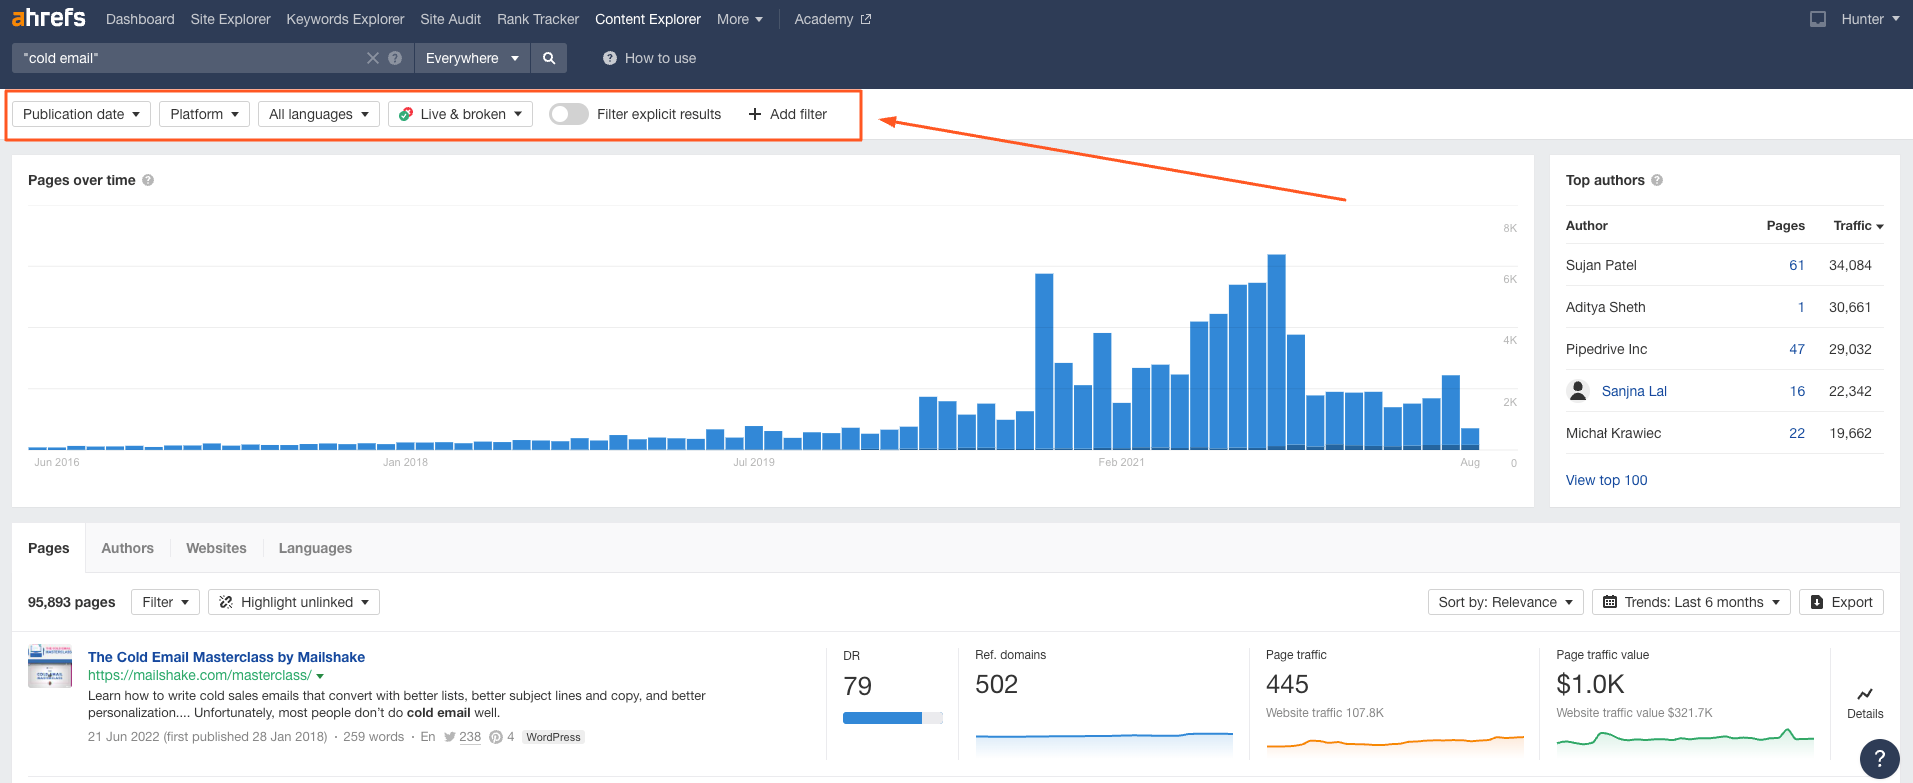
Log in to Ahrefs and go to the Content Explorer section. Type in a keyword related to your business or industry and hit ‘Enter’.
You’ll get a list of all the pages online that mention your specific keyword.
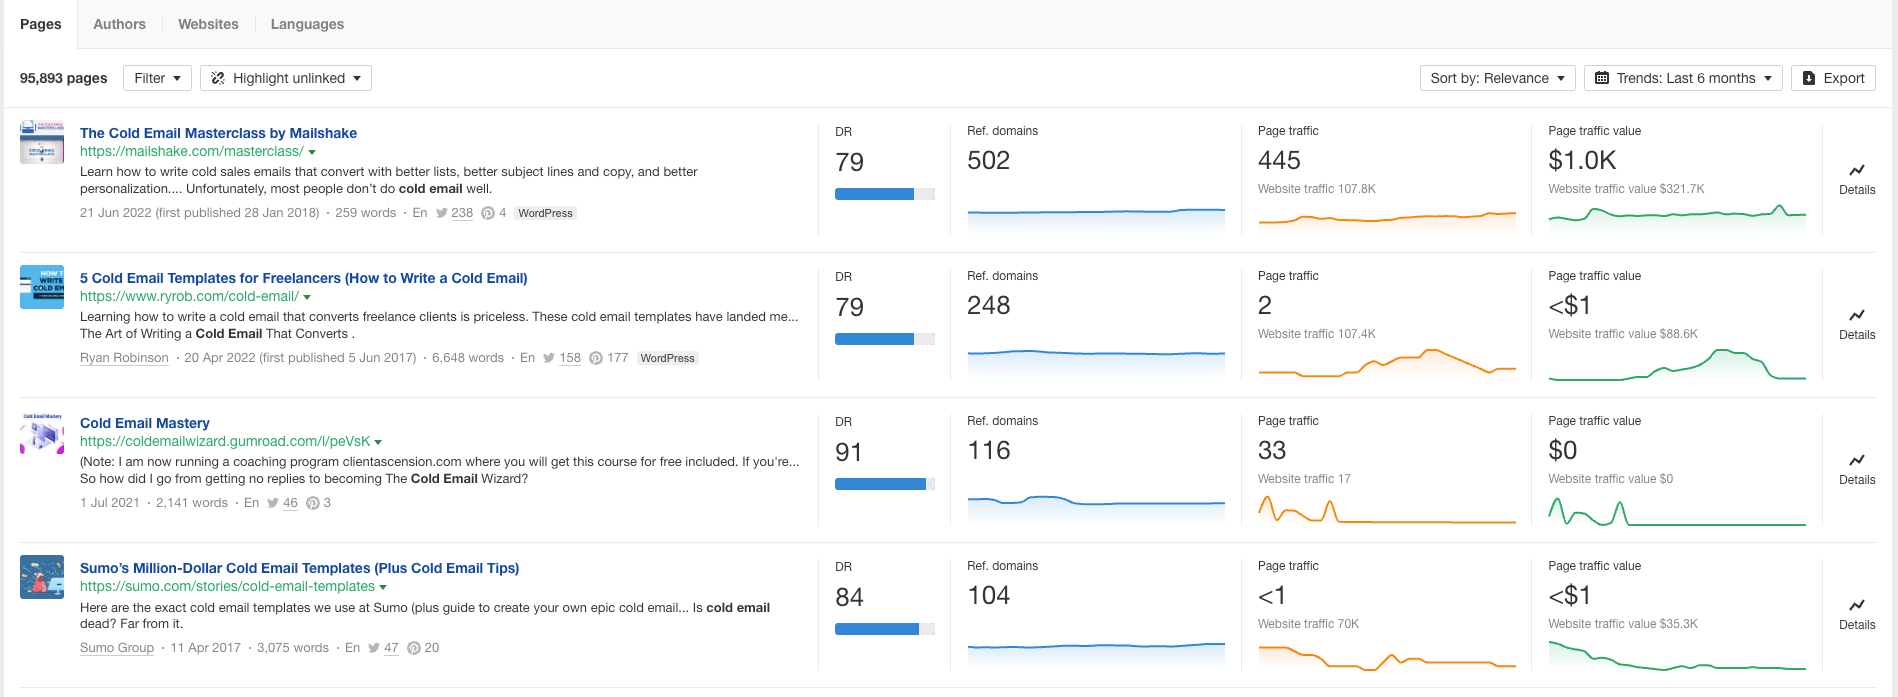
You can then refine the list further by using the publication date, platform, language, and domain rating filters.
Once you’ve refined the list to fit your criteria, you can hit the ‘Export’ button to export the list to a .CSV file.
Analyze your competitors’ guest posting efforts
Another great way to find guest posting opportunities is to uncover where your competitors are publishing guest posts. Here’s how to do it.
Start by making a list of competitors. Then, go through their websites and note down the names of the writers writing their content.
Now, you’re going to go to Ahrefs’ Content Explorer again. This time, you won’t input a keyword at all. Simply hit ‘Enter’ without typing anything into the search box.
Doing this will provide you with a list of all the website pages Ahrefs has in its index. Now, filter this list by using the Author filter.
Add the name of one of the writers you noted down earlier as an Author filter. This will show you all the websites they’ve guest posted on. You can then filter this list further if needed before exporting. Then, repeat this step for every writer on your list.
This should provide you with a big list of websites you can potentially publish a guest post on.
Identify the right person to contact
Once you’ve found a website you’d like to write a guest post for, you’ll need to identify the person in charge of managing guest post requests.
For most websites, this is likely going to be a content manager or an editor. If the website you’re targeting is that of a company, you can go to the company’s LinkedIn page and try to find out who this person is.
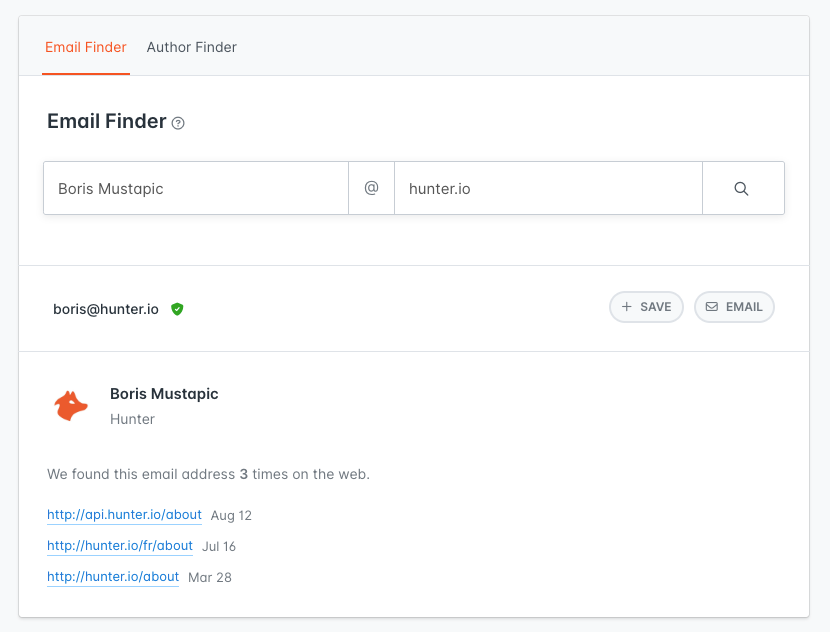
Once you identify the right person to contact, you’ll need to find their email address. This is where Hunter’s Email Finder can help.
All you need to do is type in the person’s name and the domain name of the website, and you’ll get their email address in seconds.
If the company or website doesn’t have a LinkedIn page, you can use Hunter’s Domain Search tool to identify all the email addresses associated with the website, as well as the names and job titles for each email address.
Simply go to the Domain Search page and type in the website’s domain name. You’ll then get a list of all the email addresses associated with the website.
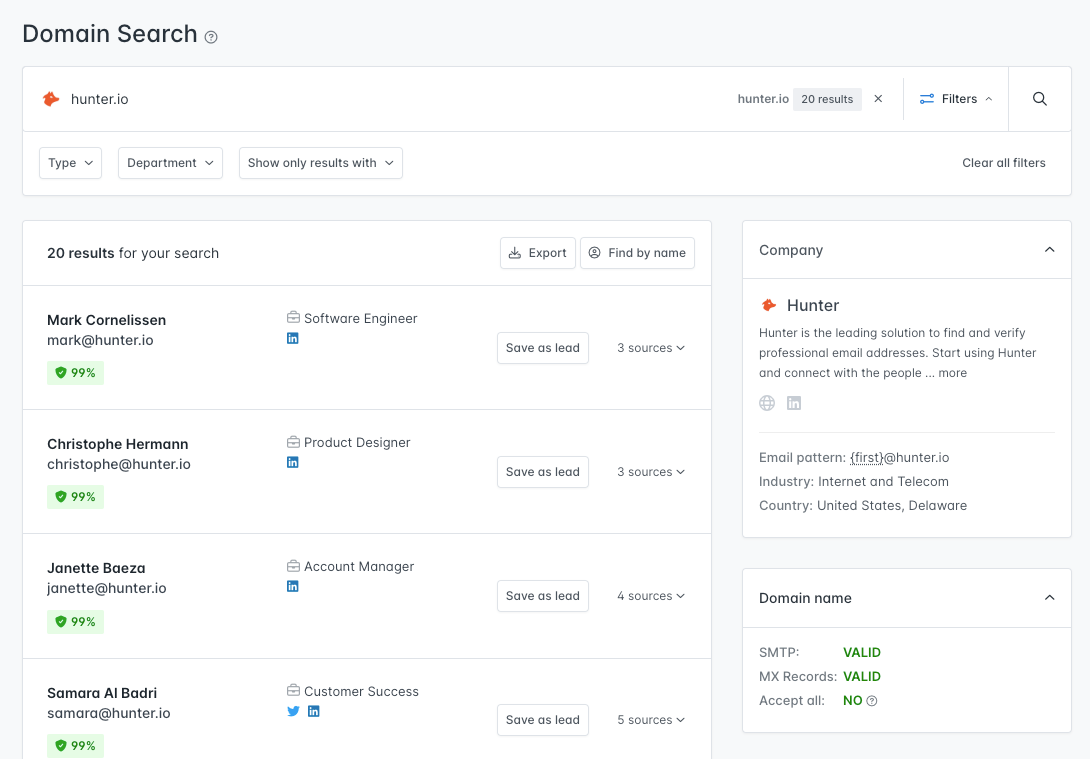
Go through the list and try to find the most relevant person to pitch your guest post idea to.
Tip: if you find email addresses outside Hunter that you want to contact, make sure you use our email checker to avoid risky contacts.
Prepare your pitch
Once you’ve found the right contact to pitch, it’s time to prepare your actual pitch. Before you start working on your pitch, try to find the website’s guest post guidelines.
They’ll tell you what the website is looking for in a guest post, as well as what to include in your pitch.
It’s also a good idea to read through other guest posts on the website to get a feel for the kind of content they usually publish.
Once you do that, you’re ready to write your guest post pitch.
Start your pitch by introducing yourself. Explain who you are and why your expertise might be relevant to the website’s audience.
Make sure also to include links to guest posts you wrote for other websites. This will help the person in charge of accepting guest posts judge your writing style and subject matter expertise.
Finally, pitch your topics. It’s good to pitch 3-5 topics in your email to increase the chances of one of the topics being interesting to the prospect.
Make sure all the topics are relevant to the website’s audience and haven’t been covered on the website previously — this is crucial.
Reach out
Now that you have your pitch ready, it’s time to reach out to the person in charge. If you’re only contacting one website, you can send the email manually.
However, keep in mind that it’s likely that you won’t get a response. Guest posting outreach is a numbers game — the more websites you contact, the greater the chance that someone will accept your pitch.
Reaching out to a lot of websites manually can be time-consuming, though. Thankfully, you can automate the process using Hunter's cold email tool. Here’s how to do it:
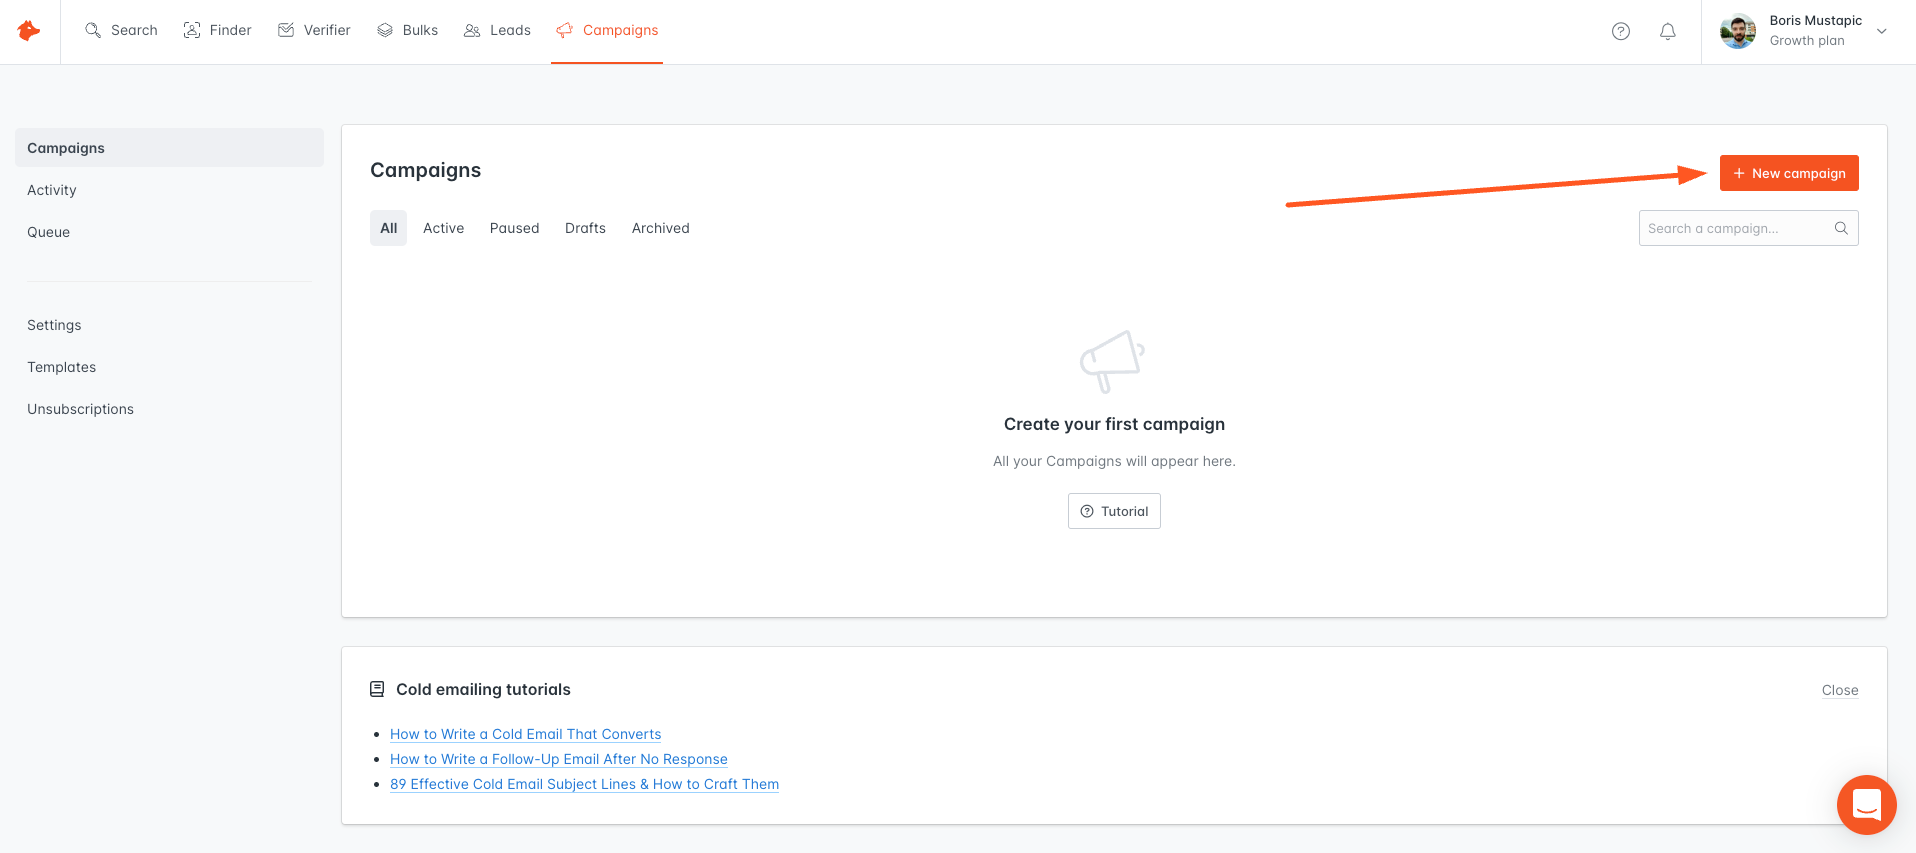
Log in to Hunter, and go to the Sequences tab. From there, click the +New campaign button.
Connect your email account if you haven’t done so already. Then, add a subject line and email body for your guest post pitch email.
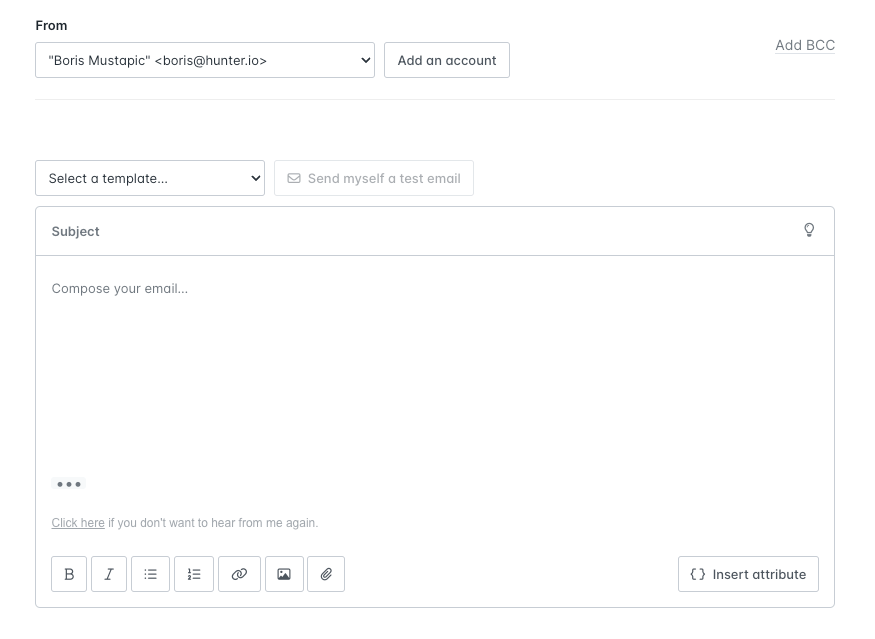
You can use the built-in attributes such as “First name”, “Company”, and “Website” to personalize your emails.

Hunter Sequences also gives you the option to create custom attributes. You can do this by going to the Leads tab and then clicking on the Custom attributes link in the left-hand menu.
To increase your chances of getting a reply, you can also add up to three follow-up emails to the sequence.
Hunter Sequences will send these out automatically at custom intervals you can define. The sequence will stop automatically if you receive a response from the prospect.
Once you’re happy with your email sequence, hit ‘Next’.
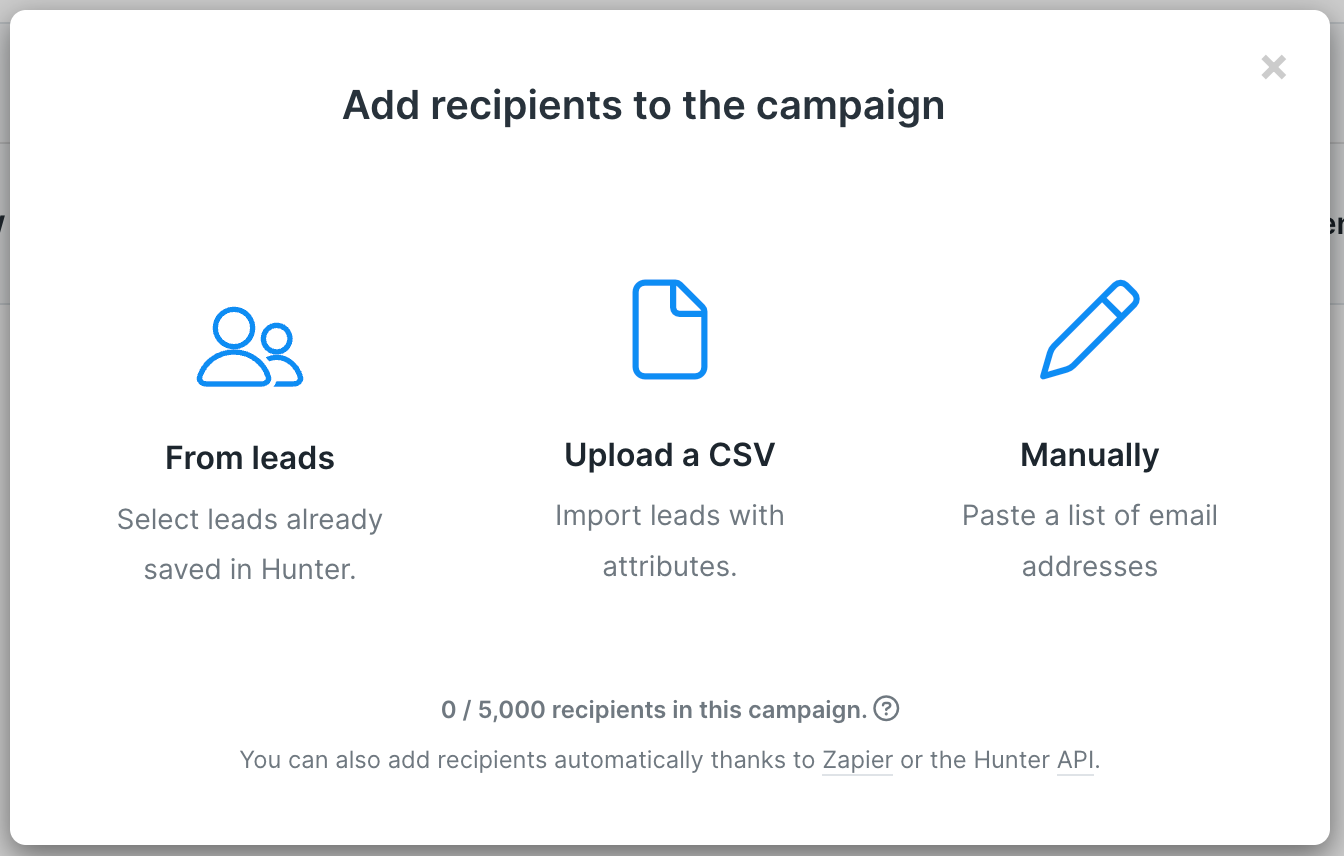
Click the +Add recipients to the campaign button, and choose the “Upload a CSV” option.
On the next screen, add a name for your list and upload a .CSV file containing your guest posting prospects. Finally, click the Import button.
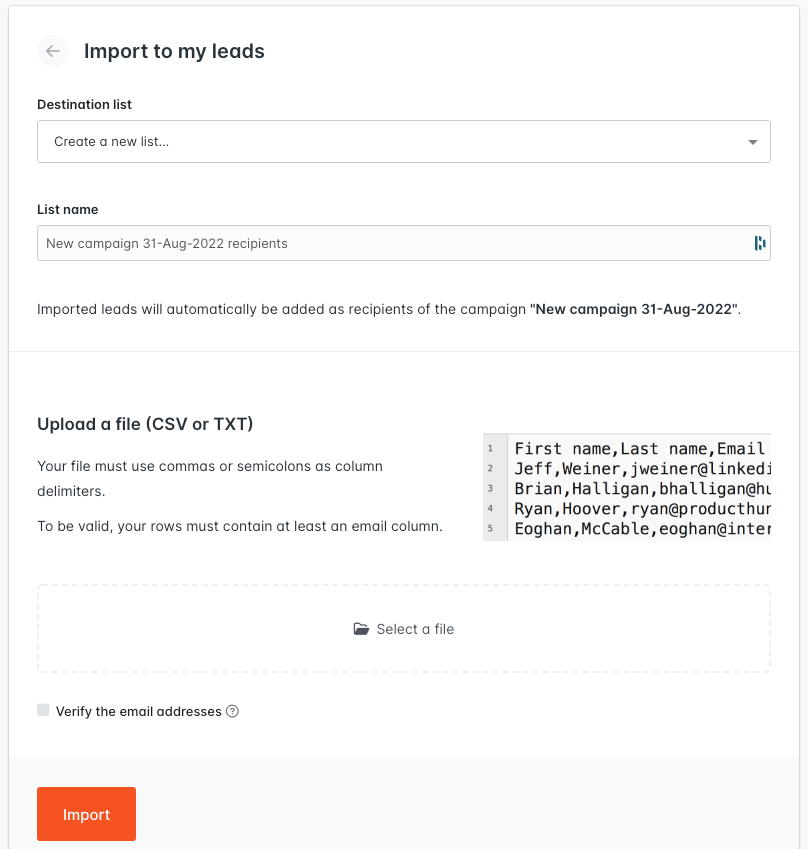
Next, you’ll need to match your file’s columns to the appropriate fields. Once you’re done, click on Start the import.
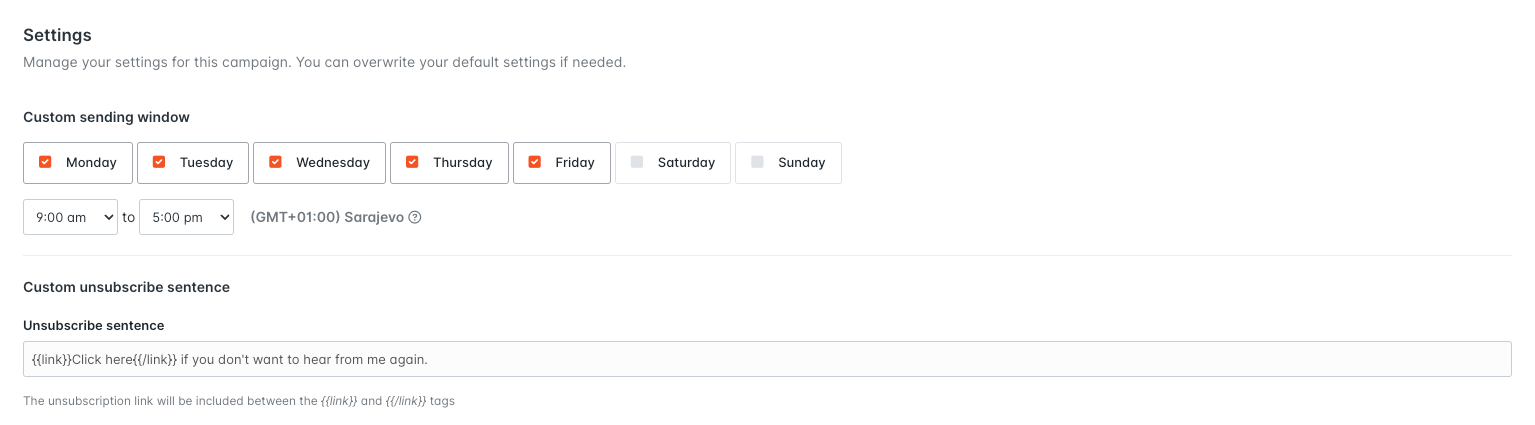
After adding an audience for your campaign, click on Next. In the next section, you’ll be able to set a sending window for your campaign, as well as add a custom unsubscribe sentence. Happy with the settings? Click Next.
In this last step, you’ll be able to do one final review of your campaign. If everything looks good, click the Launch button to start your campaign.
Now all you need to do is sit back and wait for the replies to start coming in.
Write an amazing guest post
Got your guest post pitch accepted? Here’s how to write a great guest post.
Follow the website’s guidelines
In most cases, the website you’ll be publishing a guest post on will have its own guest posting guidelines. Make sure to follow these strictly to avoid getting your draft rejected (this can happen).
Apart from making sure your draft will be approved, following the guidelines will reduce the amount of time you’ll need to spend on addressing any edits the website’s editor suggests.
Add images
Images can make your guest post more visually appealing and break up your post’s text, making it easier to read.
Avoid using stock images, however. Instead, opt for images that provide value to readers, such as screenshots, graphs, and infographics.
Include relevant internal links
Go through the website’s blog and try to find other posts you could link to from your post. The editor will be very grateful to you if you take the time to add relevant internal links to your guest post.
Putting in the effort to do this will help you stand out from every other guest blogger out there and can also improve the chances of getting your draft approved.
Proofread
Don’t make the mistake that a lot of guest bloggers make and submit your guest post without proofreading it first. Nothing can ruin your chances of getting your guest post approved as much as a draft filled with grammatical and spelling errors can.
Use a tool like Grammarly to make sure your guest post is completely error-free.
Don’t forget the author bio
Most websites will ask you to provide an author bio and photo when submitting a guest post, so make sure not to forget to include this with your draft.
When writing your bio, include relevant information that will show readers why you’re an expert on the topic.
Follow guest posting etiquette after publication
Once your guest post is published, don’t just forget about it. Actively promote it through your social media channels and other means.
This will help improve your post’s reach and show the host website that you’re genuinely putting in the effort to promote the post.
Additionally, keep an eye on the post’s comments section for the first week and reply to any comments.
Guest post your way to success
You’ve reached the end of this guide. Now, it’s time to take action and put your newfound knowledge to work.
Go out there and send your first guest post pitch. Good luck!


 Send cold emails with Hunter