The Hunter’s blog provides many high-quality posts about cold email outreach, sales, marketing, and growth. Those in-depth articles usually contain multiple sections. To allow our readers to have a global view of the content, quickly see if the post answers their questions, and easily navigate through it, we love to provide a table of contents.
Until now, to provide this table of contents, the author had to manually extract each heading and link it to the appropriate section in the article. That was not scalable. It was also error-prone as one careless mistake or content change would break the link.
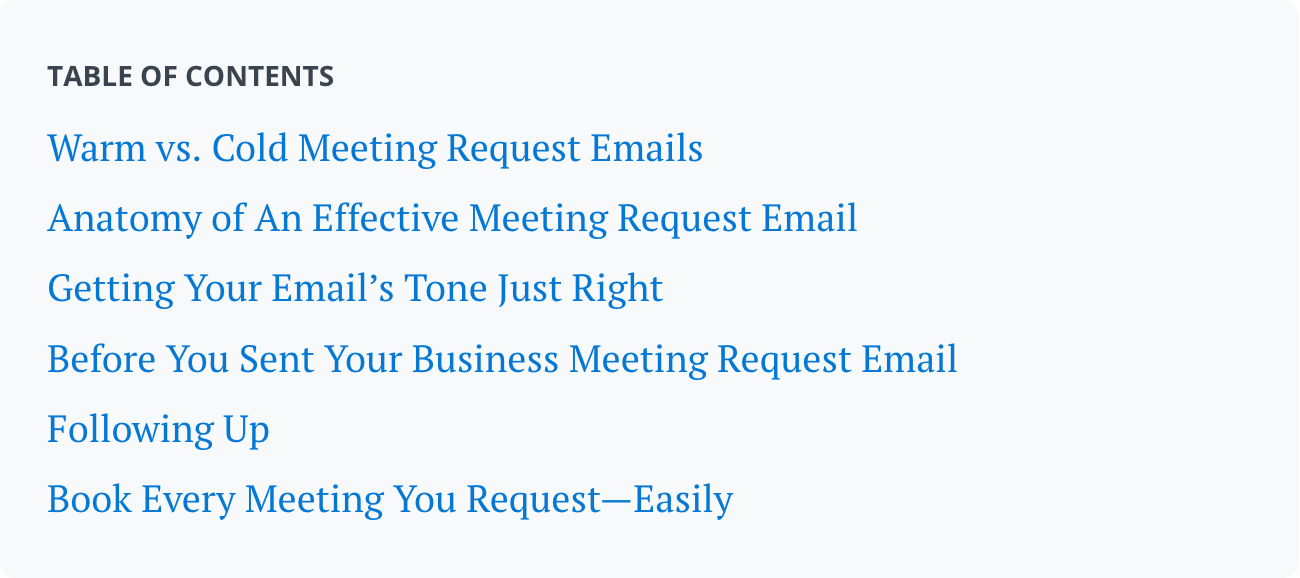
This is what we started with:

And that’s the HTML an author had to write to create this table of contents:
  <a href="#warm-vs-cold-meeting-request-emails">Warm vs. Cold Meeting Request Emails</a><br>
  <a href="#anatomy-of-an-effective-meeting-request-email">Anatomy of An Effective Meeting Request Email</a><br>
  <a href="#getting-your-email%E2%80%99s-tone-just-right">Getting Your Email’s Tone Just Right</a><br>
  <a href="#before-you-sent-your-business-meeting-request-email">Before You Sent Your Business Meeting Request Email</a><br>
  <a href="#following-up">Following Up</a>
In the long run, this wasn’t satisfactory for the reasons brought sooner.
To address this, we wrote a simple JavaScript function that automatically generates a table of contents which can easily be styled.
This is what it looks like now:
Looks better, right?
Generate a table of contents in Ghost
As the table of contents can be placed at a different place in each article — there is always an introduction paragraph — we chose to define a manual HTML snippet that an author would insert at the expected location. Our goal was to keep this HTML as simple as possible, so it’s easy for anyone to implement. We came up with:
  <div id="post-toc-container" data-allow-subheadings="false">
    The table of content will be generated here
  </div>
The post-toc-container identifier is used to select the table of contents location.
The data-allow-subheadings attribute is present to enable the inclusion of the subheadings (h3 in our case) when needed. By default, only the first level of title (h2) is displayed.
Now comes the generateToC function. It selects all the headings from the post and generates the table of contents, which is finally inserted inside post-toc-container.
function generateToC() {
  const tocContainer = document.getElementById("post-toc-container")
  let tableOfContents = ""

  if (tocContainer) {
    const allowSubheadings = tocContainer.getAttribute("data-allow-subheadings") === "true"
    const headingSelector = allowSubheadings ? ".post-full-content h2, .post-full-content h3" : ".post-full-content h2"
    const headings = document.querySelectorAll(headingSelector)

    headings.forEach((link) => {
      const id = link.getAttribute("id")
      const text = link.textContent

      tableOfContents += `
        <li class="post-toc-list__item post-toc-list__item--${link.nodeName.toLowerCase()}">
          <a href="#${id}" class="post-toc-list__link">${text}</a>
        </li>
      `
    })

    tocContainer.classList.add("post-toc")
    tocContainer.innerHTML = `
      <strong class="post-toc__title">Table of contents</strong>
      <ul class="post-toc-list">
        ${tableOfContents}
      </ul>
    `
  }
}
Note: By automatically generating an id for each h{n}, Ghost makes our job easier. As the table of contents is automatically generated, there is no need to update the anchor manually when a title changes.
What’s next?
As this function suffices for our current needs, we didn’t push it further. It’s one of our principles: push for simplicity.
Thus, if you want to add a table of contents in your Ghost posts programmatically, this is a good start! If it is always placed at the beginning of the post content, it is even possible to get rid of the HTML snippet and generate the output based on the DOM.
To have something more bulletproof, it could be interesting to support a deeper title level (up to h6?). Improving the semantic of the table of contents with an indented list might also be a nice addition.
Final thoughts
The idea was coming from our Product Team and without surprise was warmly welcomed by our authors. We implemented it during one of our weekly Pair Coding sessions using Visual Studio Live Share.
Enhancing in-house user experience is essential to improve our workflow and provide the best value to our users and customers.